A nickel will get you on the subway, but garlic will get you a seat. – Yiddish proverb.
Garlic is one of those vegetables that have made its way into everyone’s homes one way or the other. There are chances that even if you don’t have an acquired taste for garlic, you do certainly use it for its powerful medicinal prowess and include it in your DIY hacks to feel better from issues like digestion or the common cold.
From its native homeland, where garlic has been granted the power of Ayurveda and consumed cooked and raw all the same – what can be better than to pick a handful from your very own garden for whatever purpose you want it to fulfill today? Dating back thousands of years, garlic has surely lived up to its hype in every way, and you should definitely grow your own.
All about Garlic
Garlic belongs to the Allium genus, so it is in the same family as onions, shallots, scallions, leeks, chives, and other ornamental types. Native to South and Central Asian regions, garlic is a pungent, bulbous flowering plant that can be recognized for its smell even if it’s 10-15 feet away. Used as seasoning around the world today, almost 80% is produced in China.
One of the most unique qualities of a garlic plant is that humans might be the only mammals who consume garlic willingly and find it tasteful. Apart from us, no other mammal likes garlic. In fact, they hate both the taste and the smell of the garlic to a point where they won’t even be present near your garlic plants or any nearby vegetables.
Growing Garlic
Garlic is an easy-to-grow crop that requires little to no care compared to other contemporaries. You can easily make the most of your harvest, and all it would take is hardly a head or two, and you won’t have to buy your garlic ever again. The best thing about garlic as a garden plant is that it is a winter crop. So it keeps your garden’s production cycle all year round.
Likewise, the bulbs are very hardy and long-lasting when it comes to garlic as a food staple. You can know this for sure because if they are properly cured and stored accordingly, they will last you months more than any other vegetable you grow in your garden. So the best way you can get on by growing garlic is to save your favorite type’s cloves and get on with it.
Types of Garlic
Many people don’t realize that there are two very distinct types of garlic: Hardneck Garlic and Softneck Garlic. They are so named because of their stalks. However, the main apparent difference between the two is as simple Hardneck Garlic is wild garlic, while Softneck Garlic is the more common grocery store garlic we consume every day.
Choosing Between the Two
Quite obviously, when there are two distinct types available, and you are going to be planting and growing your garlic, it is essential to understand the two types and which one of them would be better suited to your home garden environment. Hence, let us break down the two types to help you choose between the two.
Hardneck Garlic
The Hardneck garlic has flowering stalks and develops scapes as it grows tall and edible during springtime. It is not intended for long-term storage, though, while having a strong, more complex flavor profile. The most you can store a Hardneck garlic is for 4 to 6 months, but you have to be careful with the adequate way of storing it so that it doesn’t rot over time.
When planting Hardneck garlic, it takes a colder temperature period called vernalization to form the ultimate bulb. This should be easy for you if your region experiences colder winters. However, if you are from the south, towards the milder coastal regions, you would have to opt for a pre-chilling treatment for at least 40 to 45 days before planting.
Softneck Garlic
Softneck garlic, as it is named, has soft, pliable stalks that often grow tall, and people braid them for an aesthetic display of their garlic crop. This garlic type suits the southern, coastal region weather better. It has whiter bulbs, a milder taste than Hardneck, and makes for the regular garlic bulbs and cloves that we are used to. It stores for over six months and longer.
It doesn’t develop scapes, it doesn’t have the pink or purple hues within the cloves, and neither does it have the stalk running in the middle. In fact, if you cut it in half, you’ll notice how every clove is clustered together, and the stalk is absent. That’s why many people may use the whole bulb of garlic when cooking soups and broths as a flavoring agent or spice.
Planting Garlic
Planting garlic might seem like an intimidating process. However, it is pretty easy as you can start looking for the perfect site and consider the optimal weather to support your plant growth and make the most out of your garlic plants. The best way to do this is by looking around an isolated spot in your garden sometime in the fall season to mark the harvest in summer.
You want your garlic to have established the roots before the first frost. Hence, ensure that you find a good enough space for that and plant individual cloves around mic-September to the mid of November. You can stretch the planting till January, but then don’t expect your garlic to be ready in time for rubbing on your summer BBQ ribs.
Hence, here are the optimal conditions that can favor the success of your garlic planting:
Soil
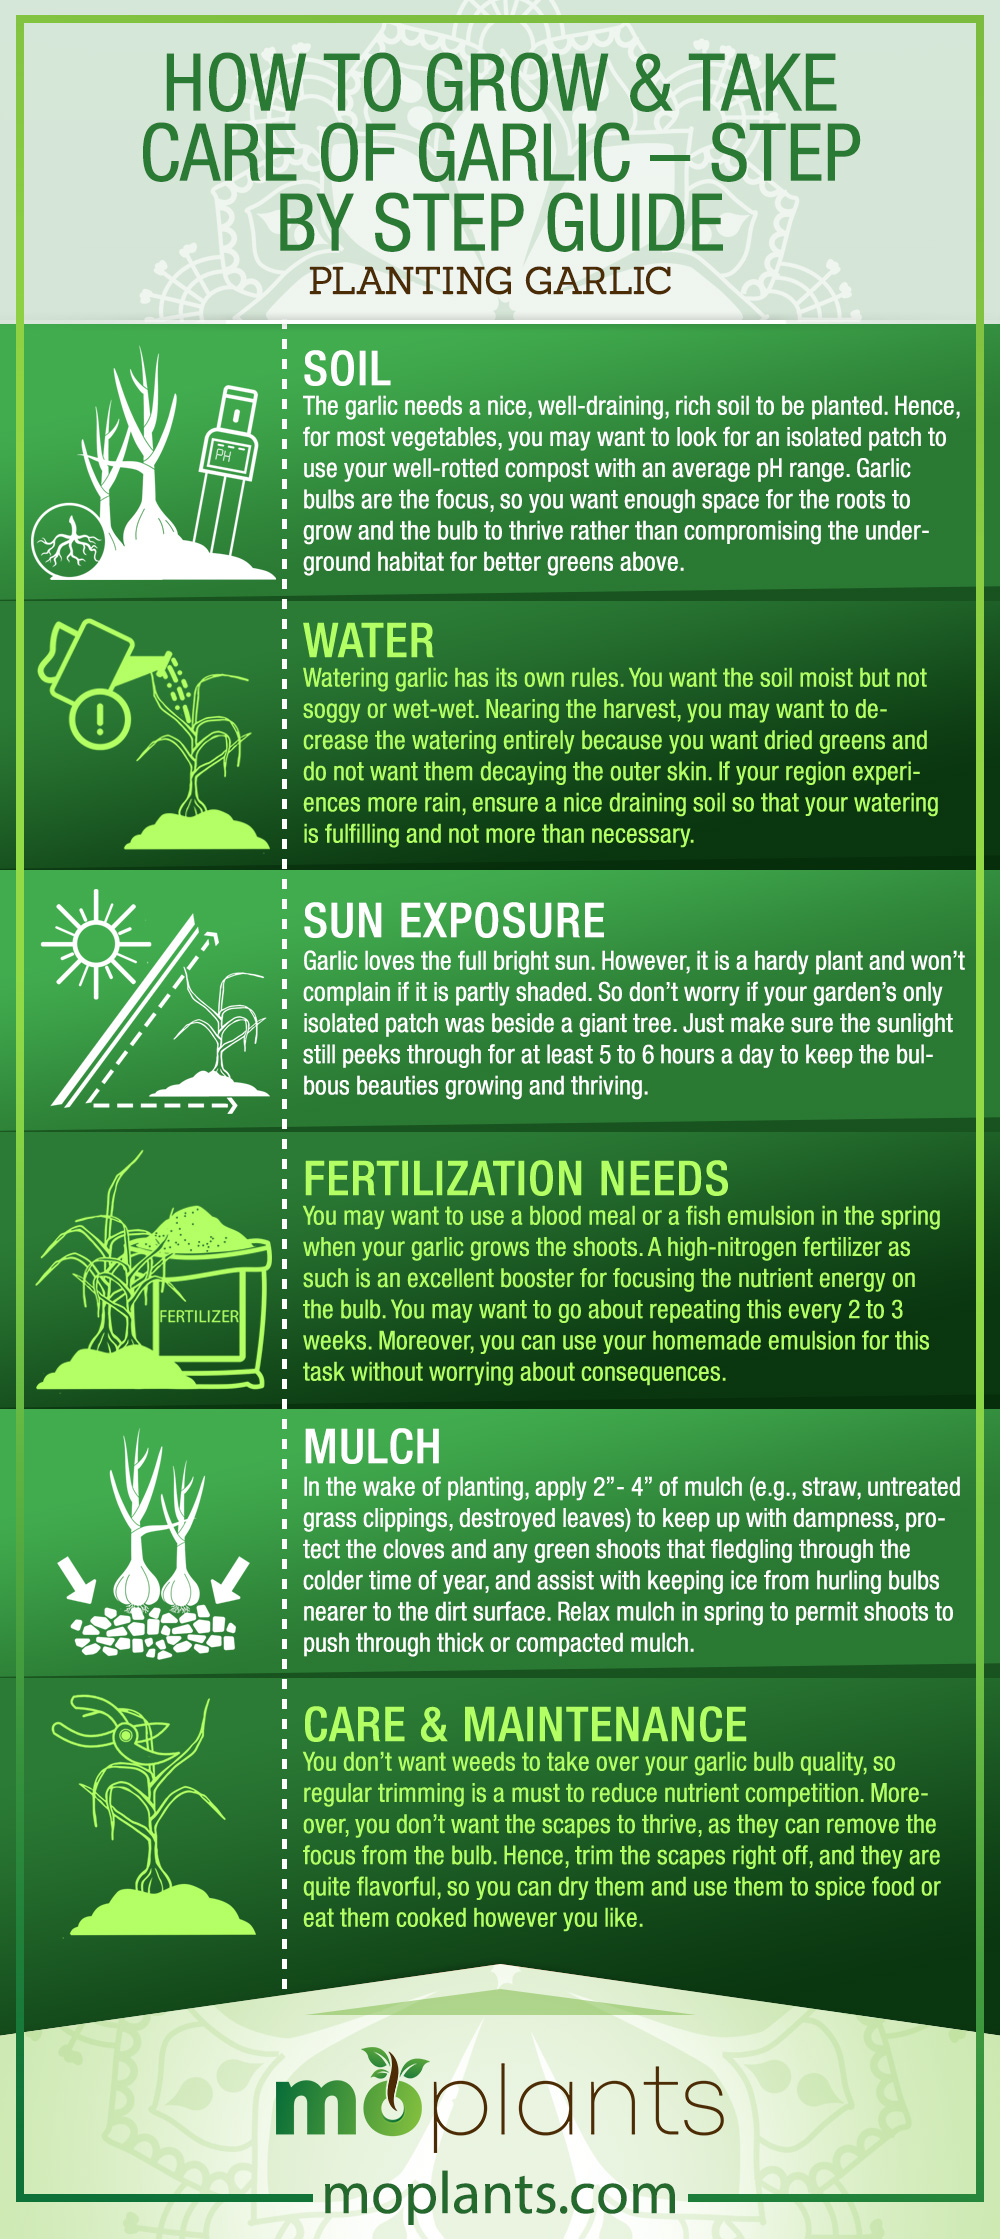
The garlic needs a nice, well-draining, rich soil to be planted. Hence, for most vegetables, you may want to look for an isolated patch to use your well-rotted compost with an average pH range. Garlic bulbs are the focus, so you want enough space for the roots to grow and the bulb to thrive rather than compromising the underground habitat for better greens above.
Water
Watering garlic has its own rules. You want the soil moist but not soggy or wet-wet. Nearing the harvest, you may want to decrease the watering entirely because you want dried greens and do not want them decaying the outer skin. If your region experiences more rain, ensure a nice draining soil so that your watering is fulfilling and not more than necessary.
Sun Exposure
Garlic loves the full bright sun. However, it is a hardy plant and won’t complain if it is partly shaded. So don’t worry if your garden’s only isolated patch was beside a giant tree. Just make sure the sunlight still peeks through for at least 5 to 6 hours a day to keep the bulbous beauties growing and thriving.
Fertilization Needs
You may want to use a blood meal or a fish emulsion in the spring when your garlic grows the shoots. A high-nitrogen fertilizer as such is an excellent booster for focusing the nutrient energy on the bulb. You may want to go about repeating this every 2 to 3 weeks. Moreover, you can use your homemade emulsion for this task without worrying about consequences.
Mulch
In the wake of planting, apply 2”- 4” of mulch (e.g., straw, untreated grass clippings, destroyed leaves) to keep up with dampness, protect the cloves and any green shoots that fledgling through the colder time of year, and assist with keeping ice from hurling bulbs nearer to the dirt surface. Relax mulch in spring to permit shoots to push through thick or compacted mulch. In freezing environments, eliminate mulch after the last hard freeze of later winter/spring to permit the soil to warm. Reapply mulch after shoots arise.
Care & Maintenance
You don’t want weeds to take over your garlic bulb quality, so regular trimming is a must to reduce nutrient competition. Moreover, you don’t want the scapes to thrive, as they can remove the focus from the bulb. Hence, trim the scapes right off, and they are quite flavorful, so you can dry them and use them to spice food or eat them cooked however you like.
Infographic
Prevention against Pests & Diseases
As we mentioned before, none of the mammals like garlic. So it makes sense (and you should have taken that as a hint) that garlic is a natural pest repellent too. This means you’ll hardly have any recurring pest problems with your garlic plants. However, certain diseases plague the onions and being from the same family, they can contaminate garlic too.
Therefore, you may want to keep an eye out for onion maggots, thrips, and white rot fungus that can compromise your garlic plant. However, they aren’t as intimidating and can be mitigated by regular cleaning of your garlic plant. In fact, an overhead sprinkler system should help you keep the debris at bay.
Harvesting Garlic
Harvesting garlic has to happen according to the type of garlic that you are growing. However, anywhere from 90 to 150 days after you have planted your garlic, you can start preparing to harvest your garlic. The most apparent sign that your garlic might be ready to harvest is when the green stalks have started to stoop and turn brown and dry.
When almost half or one-third of your greens have turned brown, you may know that your garlic is ready to be detached from the ground. Hence, you would lift the entire plant carefully from the ground and shake it loose to remove the excess soil. You can always use your hands to double-check if the husk and outer skin have formed around the head to make sure.
However, while you have harvested the garlic, it still isn’t quite ready yet and needs to be cured. Therefore, collect all your readily harvested garlic and place it somewhere where it is dark but with good air circulation. So something like an outdoor shed would do. You’ll wait till all the remaining greens, leaves, and roots have completely dried off.
You don’t want any of the green to be left and want to see it all brown. Hence, it is necessary not to cut off the roots or the leafy stems. Once everything is brown and dry, this is your sign that your garlic is cured and ready to go. You can finally cut off the stems and would be left with the beautiful white garlic bulbs, ready to be stored.
Storing Garlic
When the outer skin has become papery, and the roots have shriveled, it is time to store your garlic. However, you will not wash your garlic but lightly brush it to remove the dirt and debris from the wrappers. It may also take away the wrappers, but not worry about it. Next, you will trim the roots almost one-fourth for easy storage.
Any cool, dry place can be perfect for storing your garlic bulbs for over several months. However, don’t store it in your humid basement or in the refrigerator either. Instead, your cold kitchen pantry is a good option as you can hang a vegetable basket for your garlic. This should make them last you till your next harvest in the next summer season.
Wrap Up
Congratulations! You have finally made it to having your very own supply of garlic. Now use it whole for soups and broths or mince it to use as a spicing agent – it is all up to you! We recommend softening garlic cloves with butter and using over sourdough bread for your homegrown version of garlic bread – YUM!
So if you are looking for more such plant guides, connect with us at Mo Plants – your one-stop gardening directory for more gardening know-how. Our comprehensive guides will be an excellent resource for reading more about other plants, vegetables, herbs, and fruits to grow and expand your home garden into a colorful sanctuary of plants from all over the world.Cheers!