Nothing screams “millennial” more than avocados. Millennials hyped this fruit up because of its exotic nature, but let’s not deny that avocados are delicious for people of all ages. And you could use them as a face mask, too.
If you’ve ever thought of planting an avocado tree, read below for our tips and tricks!
The Basics
Origins of the Avocado
Avocados (Persea Americana) are tropical fruits native to Mexico. Discovered over 10,000 years ago and domesticated 5,000 years ago by the Aztecs, the avocado was brought to the United States in 1833 by a horticulturist who planted trees in Florida.
However, the fruit’s popularity really took off in the 20th century, where more people started recognizing its value as a cash crop.
Should I Plant An Avocado Tree?
Avocados are expensive, but the DIY route won’t save you some pennies either. Avocado planting is an expensive investment of time, labor, and money.
So if your goal is to save money, then you probably shouldn’t plant avocado trees.
If you want to take on a cool life project, maybe planting an avocado tree would work for you.
The Ideal Environment For Avocado Growth
Before you get your feet wet trying to produce fruit from your tree, make sure you know what it takes. That way, you won’t get disappointed when things go south.
Climate
Avocado is a tropical fruit, so it grows best in warm climates with plenty of sun. If you’re in the United States, it’s best if you live in USDA Zones 9 through 11.
This means you have better chances of growing avocados if you live in Florida, California, Hawaii, or Texas.
Cold weather is dangerous to avocado trees, so you’re out of luck if you live in a colder region.
Avocado Varieties
The three common varieties of avocado fruit in the united states are the West Indian (Persea americana var. americana), Mexican (Persea americana var. drymifolia), and Guatemalan (Persea americana var. guatemalensis) varieties.
Knowing the avocado tree variety is important for growing these trees. Different varieties thrive under different conditions, though they share some things in common.
The West Indian variety is the most sensitive to frost, and the Mexican variety can be more forgiving with colder temperatures.
Soil and Water
Avocado trees don’t do very well in wet soil but thrive in moist soil. They aren’t sensitive to the soil pH level, but they do best in soil with a pH of 6 to 6.5.
Be careful of salinity. Avocado trees won’t thrive in salty soil. You should also keep your water’s salinity in check.
When to Plant an Avocado Tree
There’s actually an ideal time to plant your avocado tree: early spring. In spring, you’re sure that the soil is warm enough and free of frost and you get to avoid harsh, direct sunlight at the same time.
The same rule applies whether you’re transplanting a potted avocado tree, or you’re planting avocado saplings in your backyard.
How to Grow an Avocado Tree From Seeds
A Fair Warning
If you start from the pit, you won’t see your trees bear fruit until you’ve changed careers, had children, or moved to another city.
That’s because you’ll be waiting years for your seed-grown avocado to bear fruit. Maybe a decade or more.
For graft-grown saplings, it only takes 4 years until your tree starts bearing fruit. On the other hand, it takes around 10-15 years for an avocado tree to be mature enough to bear fruit—if you’re lucky.
Avocados aren’t true-to-seed. This makes it that much harder for your plants to pollinate and bear fruit. This is why commercial avocado trees are graft-grown, engineered so that it grows more fruit.
You could always try to plant a tree to experiment and have fun, though. And if things don’t go well for you, at least you’ll have a houseplant.
If you’re really after growing a fruit-bearing avocado tree, skip to the growing avocados from the saplings portion below.
Method 1: The Water-Sprouting Method
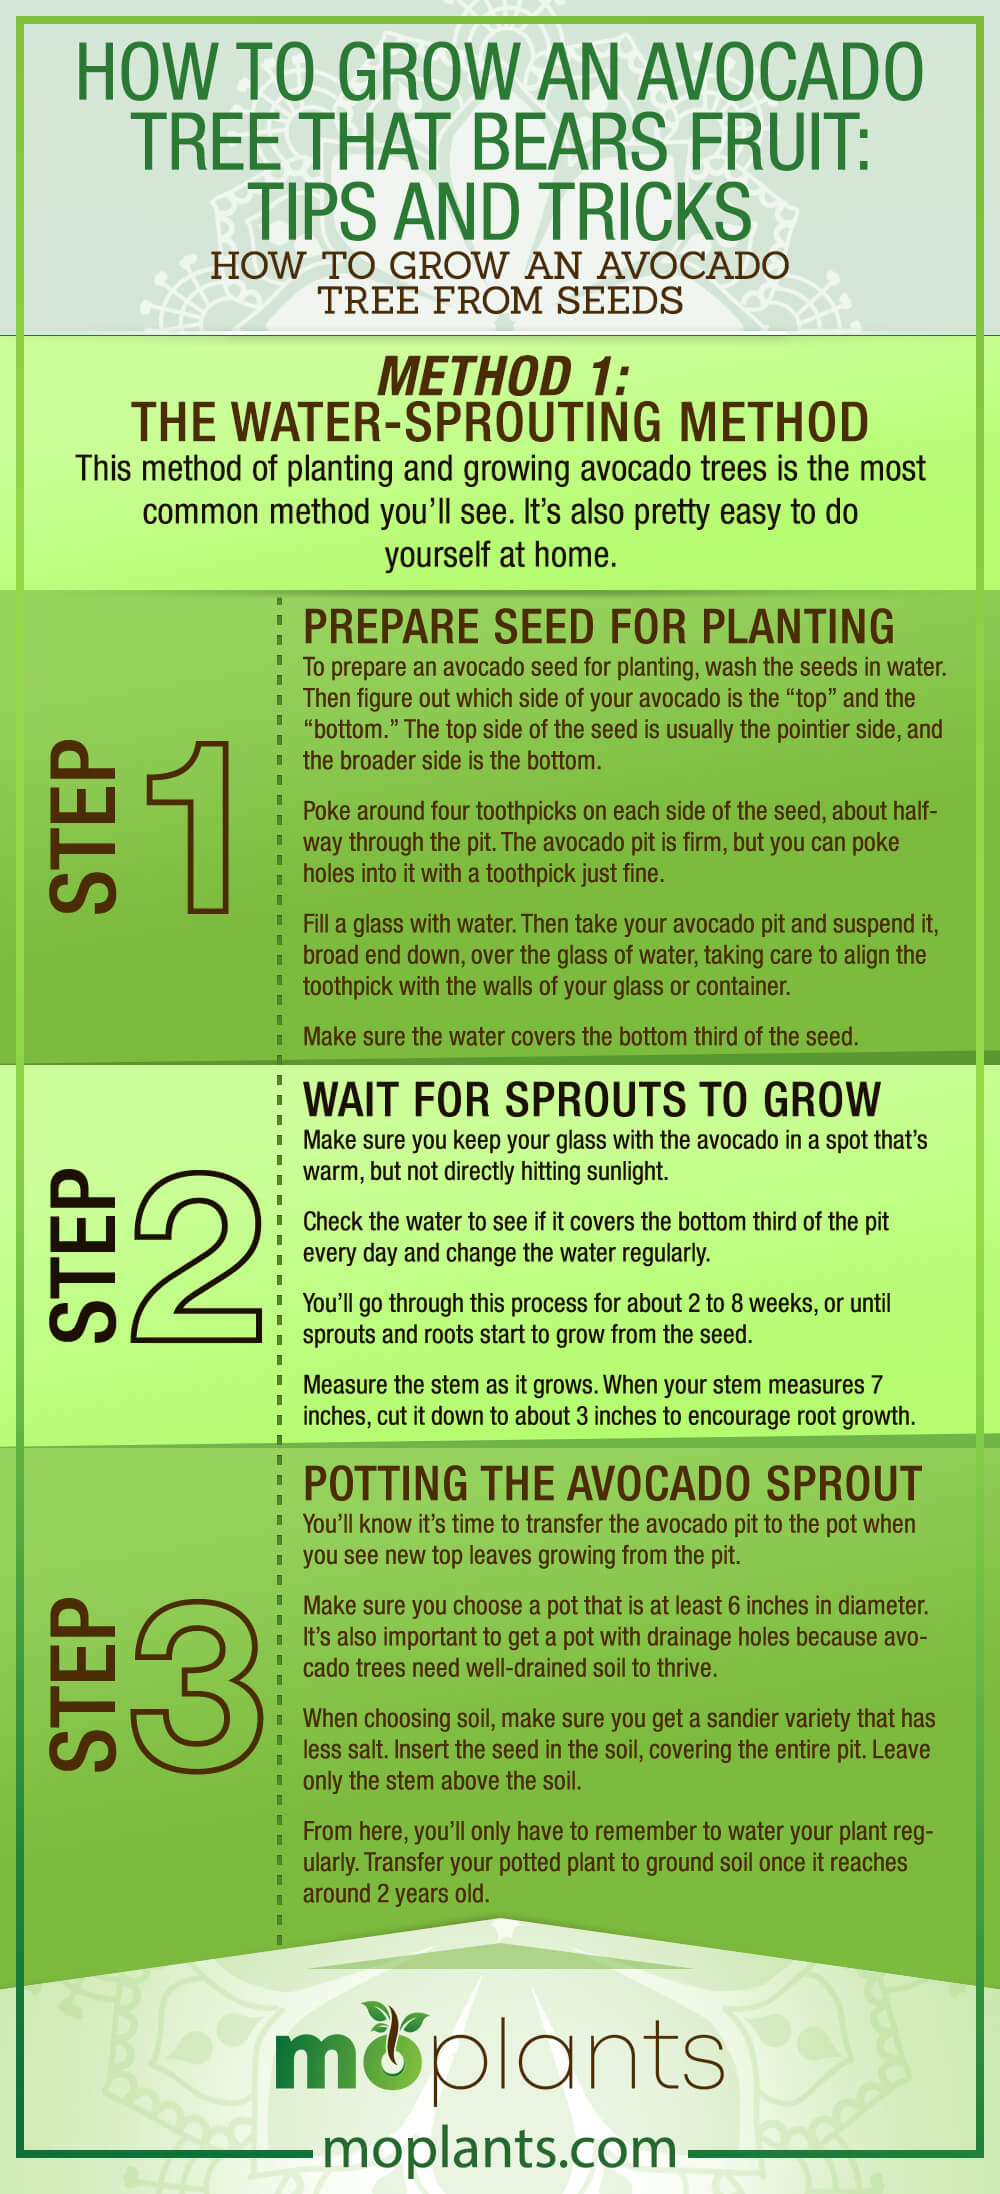
This method of planting and growing avocado trees is the most common method you’ll see. It’s also pretty easy to do yourself at home.
What You’ll Need
- Prepared Avocado Seed
- Toothpicks
- A jar, drinking glass, or another container
- Water
- Potting soil
- 10-inch pot with drainage holes
Step 1: Prepare Seed for Planting
To prepare an avocado seed for planting, wash the seeds in water. Then figure out which side of your avocado is the “top” and the “bottom.” The top side of the seed is usually the pointier side, and the broader side is the bottom.
Poke around four toothpicks on each side of the seed, about halfway through the pit. The avocado pit is firm, but you can poke holes into it with a toothpick just fine.
Fill a glass with water. Then take your avocado pit and suspend it, broad end down, over the glass of water, taking care to align the toothpick with the walls of your glass or container.
Make sure the water covers the bottom third of the seed.
Step 2: Wait for Sprouts to Grow
Make sure you keep your glass with the avocado in a spot that’s warm, but not directly hitting sunlight.
Check the water to see if it covers the bottom third of the pit every day and change the water regularly.
You’ll go through this process for about 2 to 8 weeks, or until sprouts and roots start to grow from the seed.
Measure the stem as it grows. When your stem measures 7 inches, cut it down to about 3 inches to encourage root growth.
Step 3: Potting the Avocado Sprout
You’ll know it’s time to transfer the avocado pit to the pot when you see new top leaves growing from the pit.
Make sure you choose a pot that is at least 6 inches in diameter. It’s also important to get a pot with drainage holes because avocado trees need well-drained soil to thrive.
When choosing soil, make sure you get a sandier variety that has less salt. Insert the seed in the soil, covering the entire pit. Leave only the stem above the soil.
From here, you’ll only have to remember to water your plant regularly. Transfer your potted plant to ground soil once it reaches around 2 years old.
Infographic
Method 2: The Soil-Sprouting Method
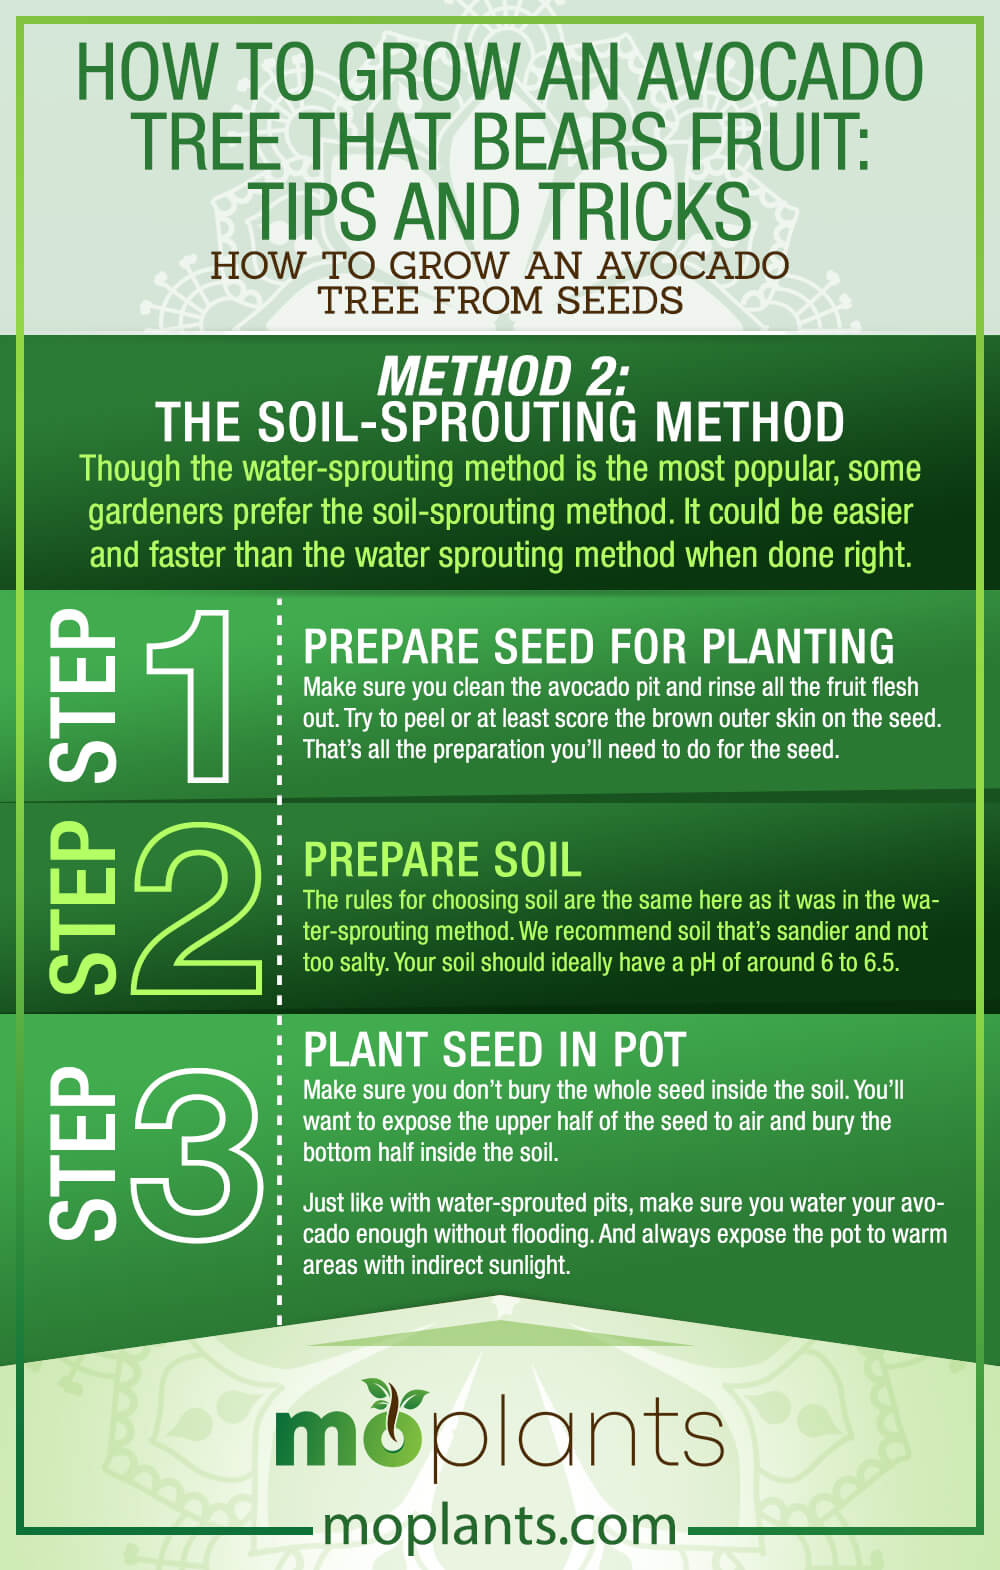
Though the water-sprouting method is the most popular, some gardeners prefer the soil-sprouting method. It could be easier and faster than the water sprouting method when done right.
The process is more or less the same as the water-sprouting method, except that you won’t be sprouting your avocado seed over water. Instead, you’ll wait for your avocado to sprout in your pot.
What You’ll Need
- Prepared Avocado Seed
- 10-inch pot with drainage holes
- Potting soil
Step 1: Prepare Seed for Planting
Make sure you clean the avocado pit and rinse all the fruit flesh out. Try to peel or at least score the brown outer skin on the seed. That’s all the preparation you’ll need to do for the seed.
Step 2: Prepare Soil
The rules for choosing soil are the same here as it was in the water-sprouting method. We recommend soil that’s sandier and not too salty. Your soil should ideally have a pH of around 6 to 6.5.
Step 3: Plant Seed in Pot
Make sure you don’t bury the whole seed inside the soil. You’ll want to expose the upper half of the seed to air and bury the bottom half inside the soil.
Just like with water-sprouted pits, make sure you water your avocado enough without flooding. And always expose the pot to warm areas with indirect sunlight.
Infographic
How to Grow an Avocado Tree From Saplings
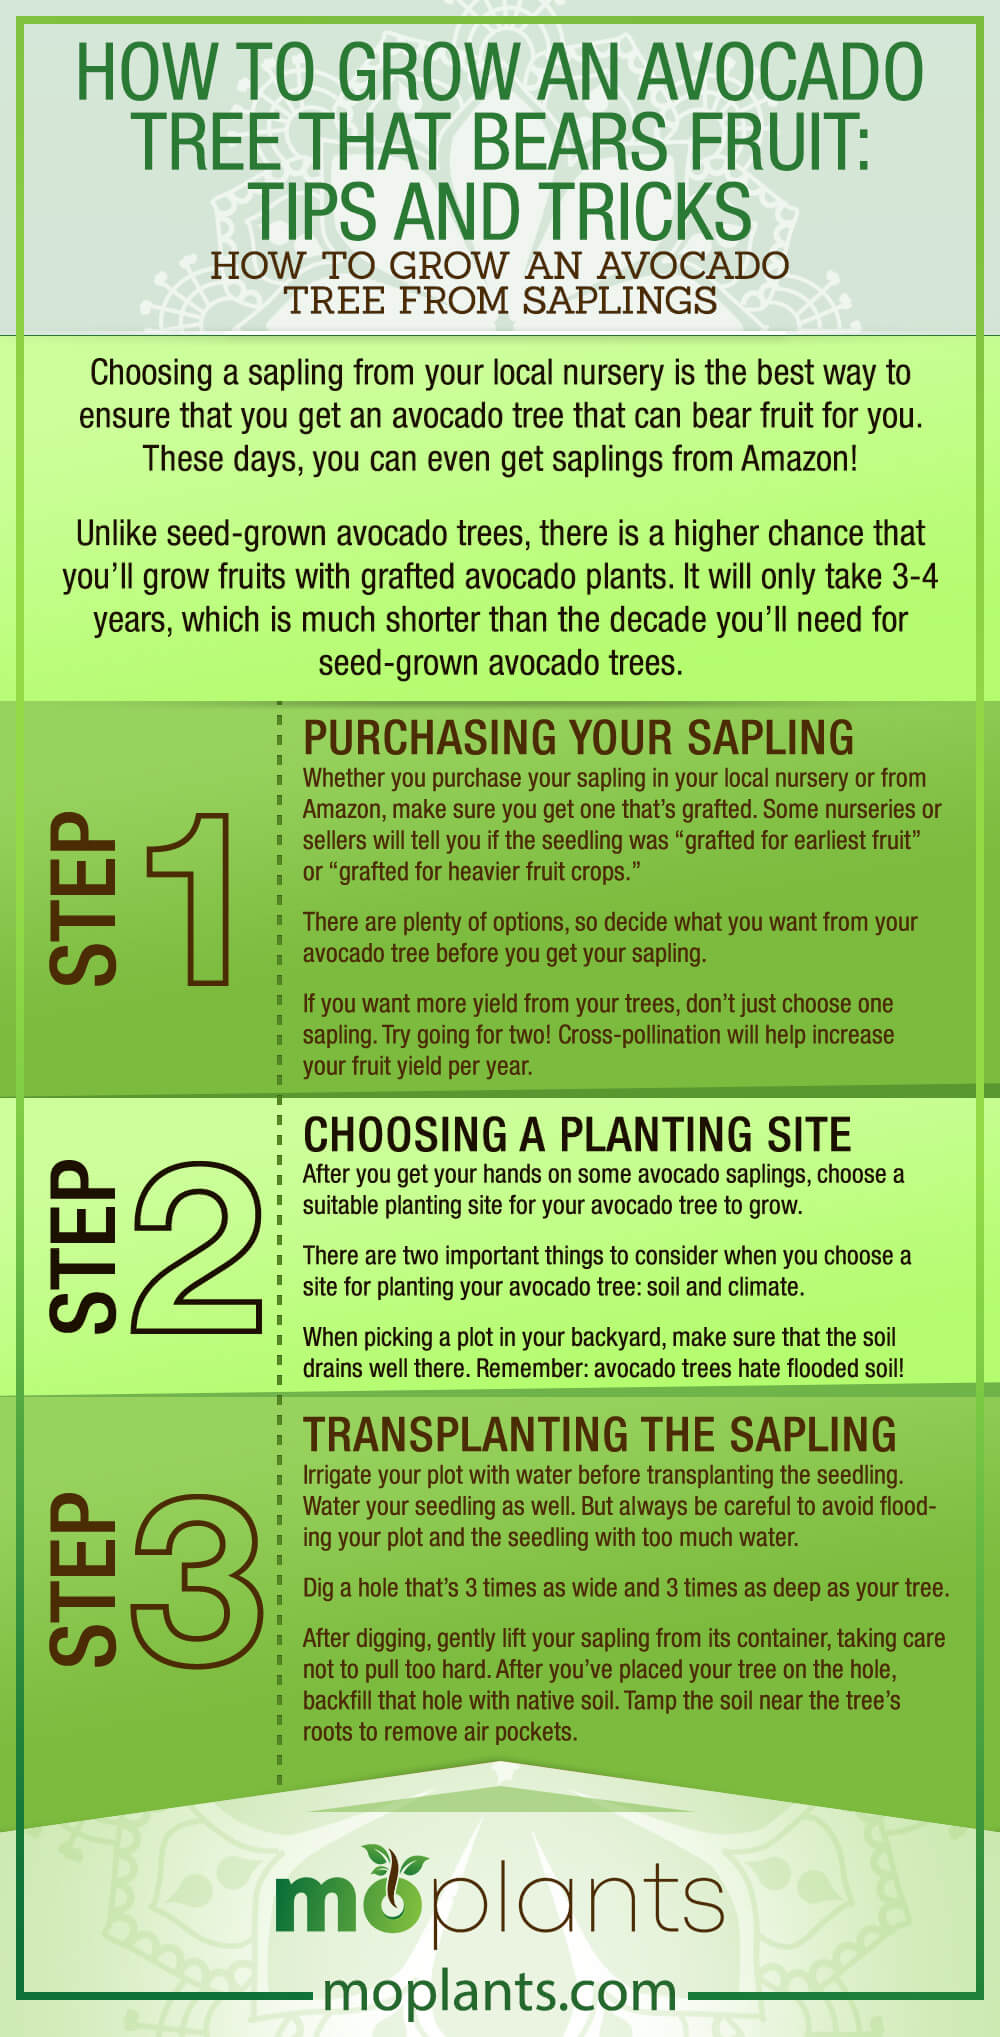
Choosing a sapling from your local nursery is the best way to ensure that you get an avocado tree that can bear fruit for you. These days, you can even get saplings from Amazon!
Unlike seed-grown avocado trees, there is a higher chance that you’ll grow fruits with grafted avocado plants. It will only take 3-4 years, which is much shorter than the decade you’ll need for seed-grown avocado trees.
Step 1: Purchasing Your Sapling
Whether you purchase your sapling in your local nursery or from Amazon, make sure you get one that’s grafted. Some nurseries or sellers will tell you if the seedling was “grafted for earliest fruit” or “grafted for heavier fruit crops.”
There are plenty of options, so decide what you want from your avocado tree before you get your sapling.
If you want more yield from your trees, don’t just choose one sapling. Try going for two! Cross-pollination will help increase your fruit yield per year.
If you get two trees, make sure you get one “A” variety avocado and one “B” variety avocado.
The reason for matching an “A” variety with a “B” variety is to time the plants for cross-pollination. You’ll want the male parts of a Type A tree to open at the same time as the female parts of a Type B avocado tree.
The common “Hass” variety is one example of a Type A avocado tree. You could match this with the Type B “Bacon” avocado tree. Both grow in USDA Zones 9b and 10a. These two varieties are a perfect match for both pollination and climate.
If you live in a different region though, you can try to find a list of common varieties for each flowering type here.
If you live in an avocado-growing neighborhood, then you don’t have to worry about buying two saplings. One avocado tree in your backyard should be good enough.
Step 2: Choosing A Planting Site
After you get your hands on some avocado saplings, choose a suitable planting site for your avocado tree to grow.
There are two important things to consider when you choose a site for planting your avocado tree: soil and climate.
When picking a plot in your backyard, make sure that the soil drains well there. Remember: avocado trees hate flooded soil!
Also, make sure to plant in an area with adequate exposure to sunlight.
Step 3: Transplanting The Sapling
Irrigate your plot with water before transplanting the seedling. Water your seedling as well. But always be careful to avoid flooding your plot and the seedling with too much water.
Dig a hole that’s 3 times as wide and 3 times as deep as your tree.
After digging, gently lift your sapling from its container, taking care not to pull too hard. After you’ve placed your tree on the hole, backfill that hole with native soil. Tamp the soil near the tree’s roots to remove air pockets.
Remember: you shouldn’t add fertilizer at this stage. It’s important for your tree to adapt to local conditions such as the climate and native soil.
And there you have it: your backyard fruit-bearing avocado tree, ready to give you some delicious avocados.
Infographic
Avocado TLC: How to Give Your Avocado Tree the Care It Needs
Fertilizer
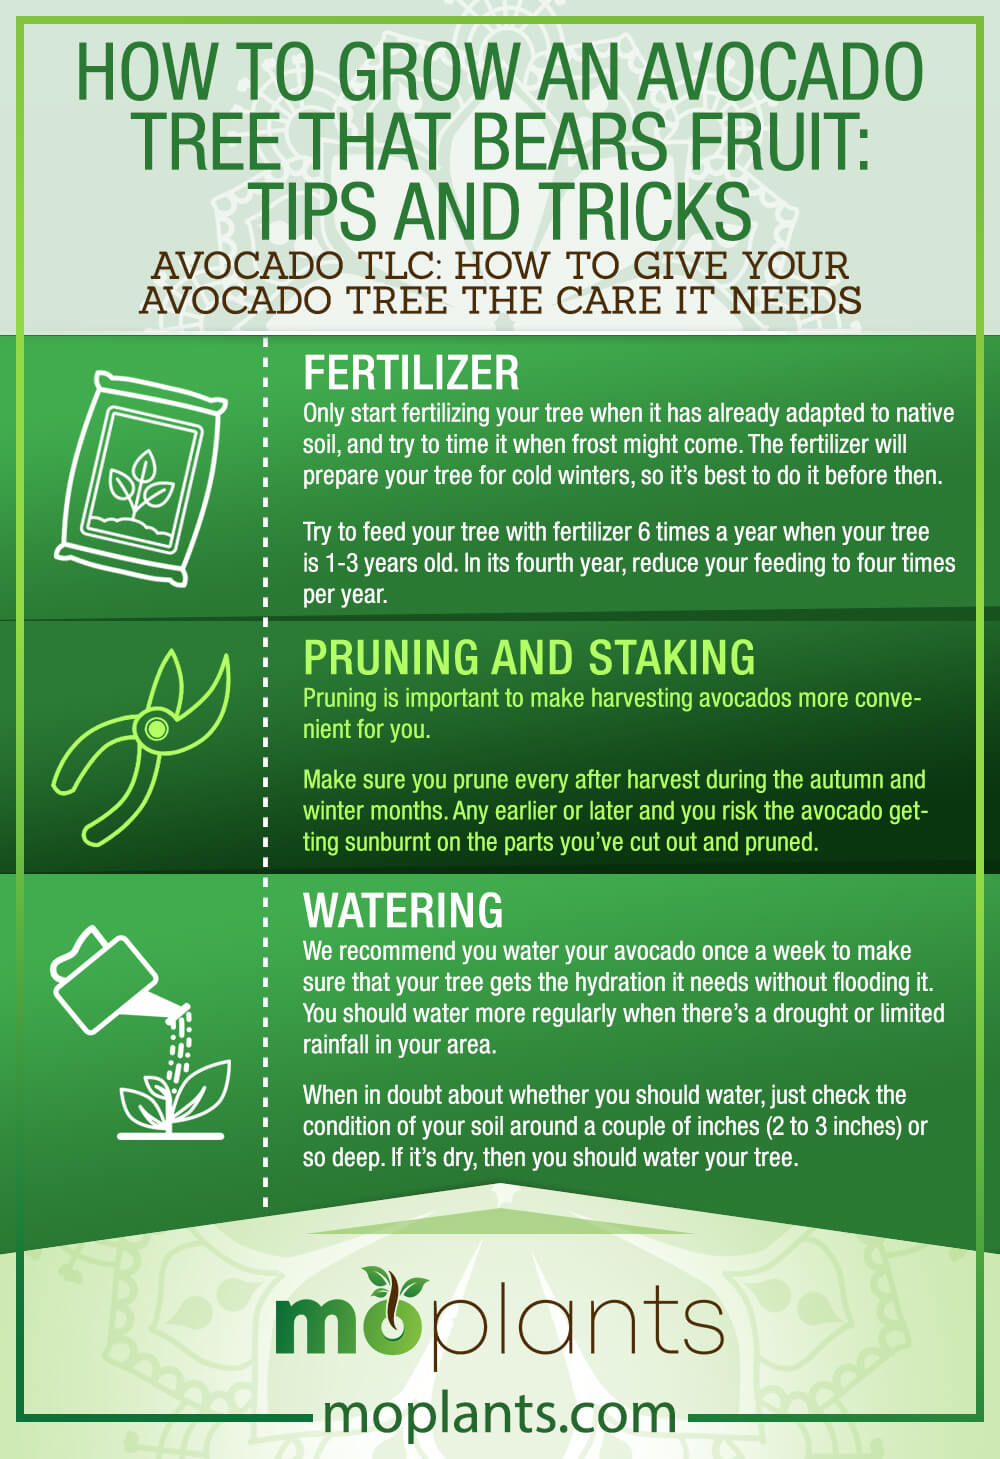
Only start fertilizing your tree when it has already adapted to native soil, and try to time it when frost might come. The fertilizer will prepare your tree for cold winters, so it’s best to do it before then.
Try to feed your tree with fertilizer 6 times a year when your tree is 1-3 years old. In its fourth year, reduce your feeding to four times per year.
Avocado trees need nitrogen, phosphorus, potassium, and zinc to thrive. Any fertilizer that works for a citrus tree will work with avocado trees.
Nitrogen is probably the most important nutrient for avocado trees, so make sure you feed your tree with at least 1 pound of nitrogen per year.
You could spread out your fertilizer applications, but be careful of the weight.
Pruning and Staking
Pruning is important to make harvesting avocados more convenient for you.
Make sure you prune every after harvest during the autumn and winter months. Any earlier or later and you risk the avocado getting sunburnt on the parts you’ve cut out and pruned.
Watering
We recommend you water your avocado once a week to make sure that your tree gets the hydration it needs without flooding it. You should water more regularly when there’s a drought or limited rainfall in your area.
When in doubt about whether you should water, just check the condition of your soil around a couple of inches (2 to 3 inches) or so deep. If it’s dry, then you should water your tree.
Infographic
Conclusion
Growing avocado trees bearing fruit is tough. Besides the environment, there’s the human factor, too. You’ll need a lot of commitment and time until your avocado trees will finally produce fruit.
Treat your avocado tree like you would your pet. Give it lots of love and devotion. Your tree with thank you for it, maybe with some fruit!