Kale is a healthy green leafy vegetable. Consider kale as a super vegetable part of the cabbage family you can snack on all year round.
What if we tell you that you can grow kale indoors? Kale can grow indoors with no problem!
Whether its dinosaur kale, jersey kale, no problem. It doesn’t take rocket science to grow kale. Believe it or not but growing kale indoors is very easy!
Today, we’ll teach you all that you need to know to grow kale indoors. You can have your very own kale garden in no time!
Preparing to Plant Kale
We’re sure you’re excited to head straight to the action and plant kale.
But before we do that, we’ve listed down several important information you need to know about kale and the materials you’ll need to prepare.
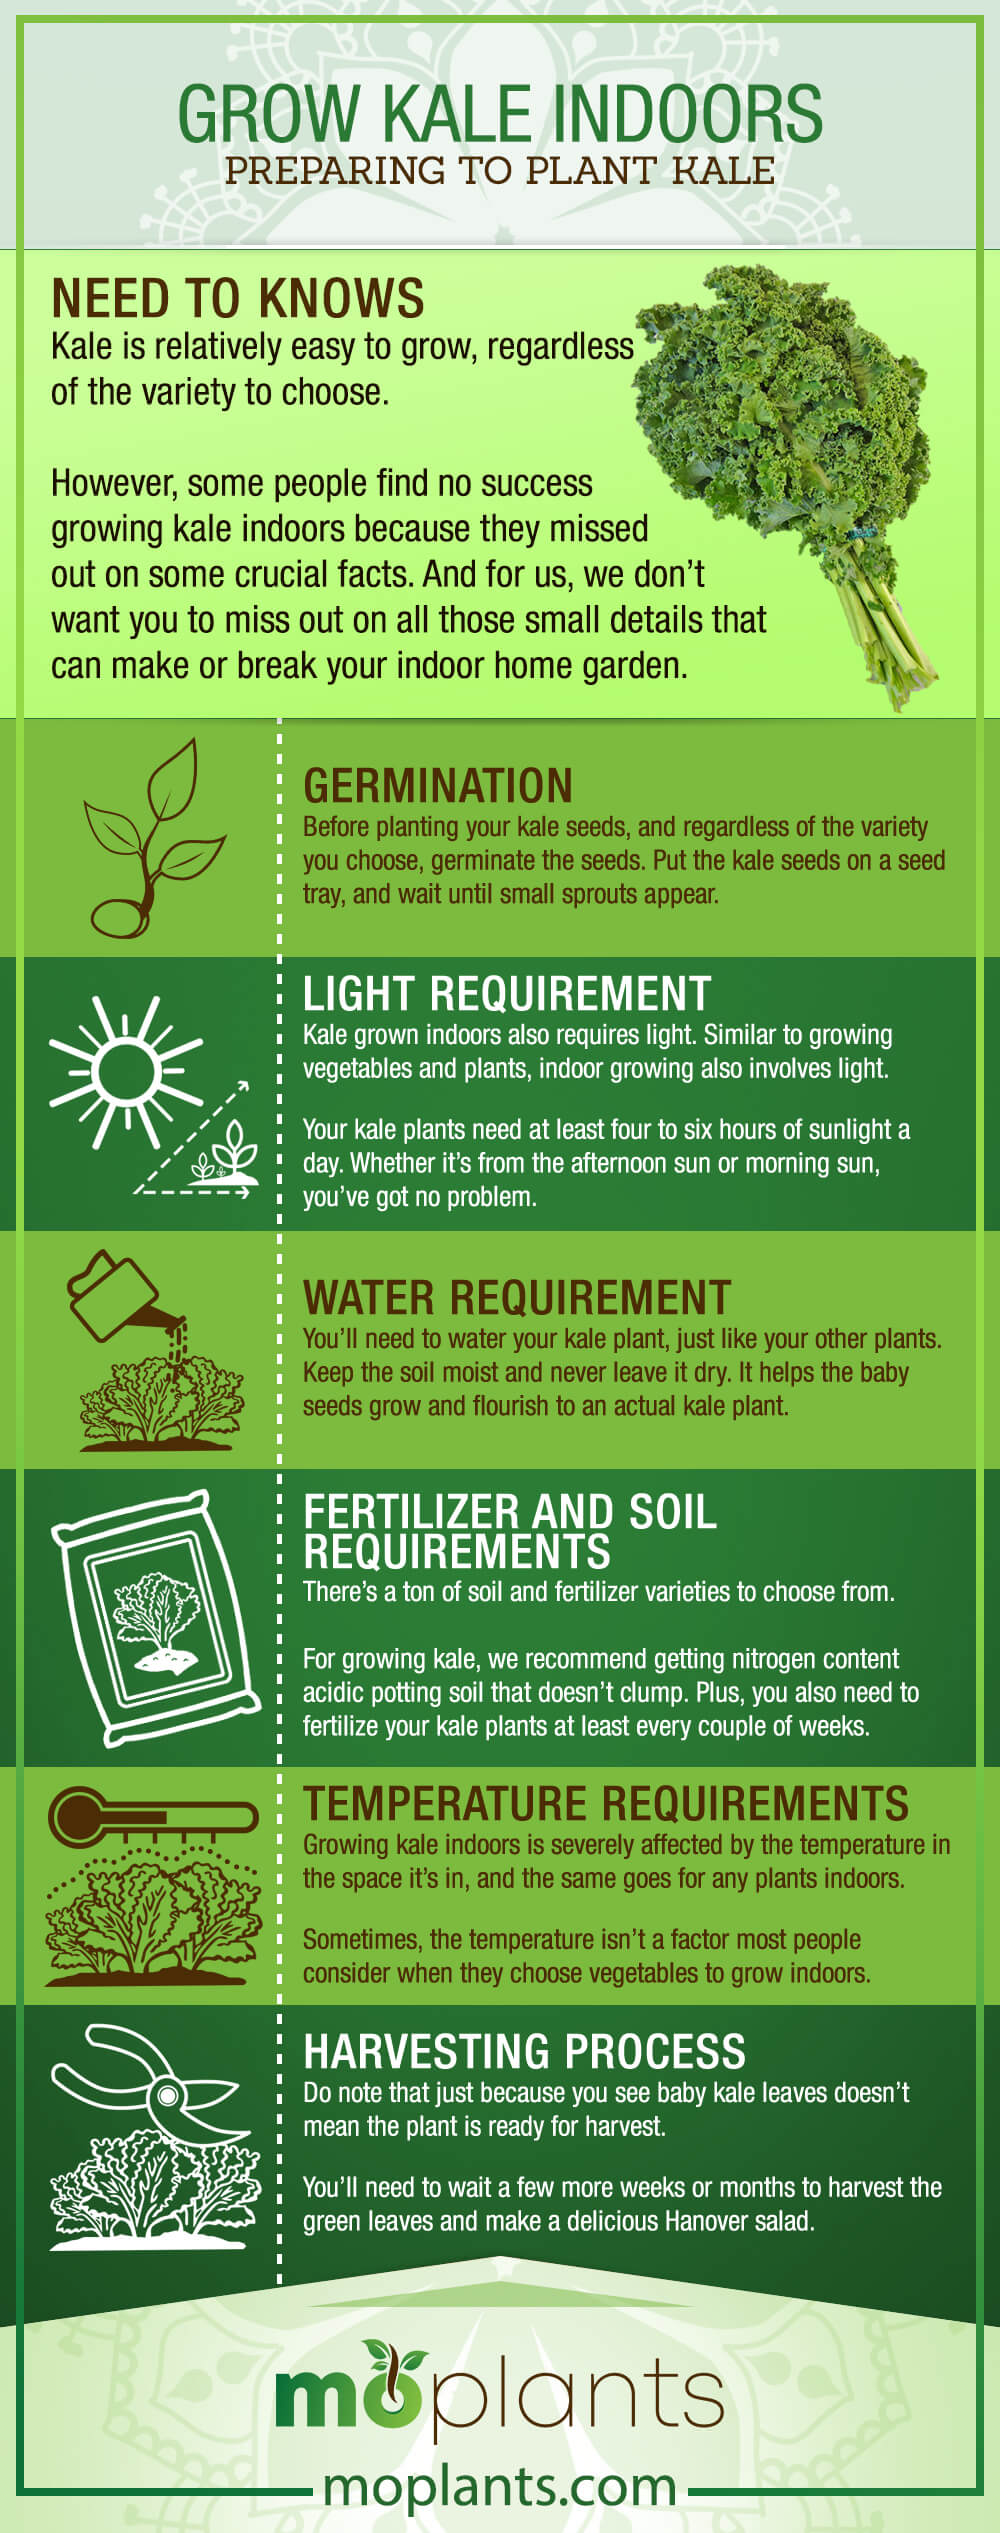
Need to Knows
Kale is relatively easy to grow, regardless of the variety to choose.
However, some people find no success growing kale indoors because they missed out on some crucial facts. And for us, we don’t want you to miss out on all those small details that can make or break your indoor home garden.
Germination
Before planting your kale seeds, and regardless of the variety you choose, germinate the seeds. Put the kale seeds on a seed tray, and wait until small sprouts appear.
Light Requirement
Kale grown indoors also requires light. Similar to growing vegetables and plants, indoor growing also involves light.
Your kale plants need at least four to six hours of sunlight a day. Whether it’s from the afternoon sun or morning sun, you’ve got no problem.
Remember: for kale plants to grow, light is a go.
Water Requirement
You’ll need to water your kale plant, just like your other plants. Keep the soil moist and never leave it dry. It helps the baby seeds grow and flourish to an actual kale plant.
Fertilizer and Soil Requirements
There’s a ton of soil and fertilizer varieties to choose from.
For growing kale, we recommend getting nitrogen content acidic potting soil that doesn’t clump. Plus, you also need to fertilize your kale plants at least every couple of weeks.
Temperature Requirements
Growing kale indoors is severely affected by the temperature in the space it’s in, and the same goes for any plants indoors.
Sometimes, the temperature isn’t a factor most people consider when they choose vegetables to grow indoors.
Kale can be grown indoors, but it requires a specific temperature for it to thrive.
In general, kale plants love cool temperatures between 60 to 65 degrees Fahrenheit. As a tip, we recommend placing your plant next to a south-facing window. It provides the right balance between cool and warm.
Harvesting Process
Do note that just because you see baby kale leaves doesn’t mean the plant is ready for harvest.
You’ll need to wait a few more weeks or months to harvest the green leaves and make a delicious Hanover salad.
Infographic
Materials to Prepare
Now that you know what to watch out for, growing kale indoors should be an easy task for you.
The next step you need to do now is to prepare all the materials you’ll need. You might even have some of the materials laying around your home!
Here are some of the materials you’ll need to grow kale vegetables indoors.
- Gardening Gloves
- Gardening Spade
- Pots or any container of your choice – make sure that it is at least 12-inches tall and wide and has drainage holes.
- Seed Trays
- Seeds – there are several varieties of kale. Choose a variety you love.
- Potting Soil – we highly recommend choosing a soil that’s meant for indoor plants. You can choose a potting mix that has excellent acidity level kale plants love.
- Spray Bottle
Growing Kale
It’s the moment you’ve been waiting for. It’s time to plant your kale!
Germination Process
- Gather the kale seedlings you want to use and place them inside a container that’s full of water. Allow the seeds to soak for not more than six hours.
- Prepare your container soil by putting approximately 3 to 4 inches of your preferred growing mix. Water the mixture just enough to get it moist.
- After soaking your seeds, carefully take them out of the water.
- Transfer your seeds to the seed tray, making sure to keep them at least 5 inches apart to grow.
- Cover the seeds with your potting mix or garden soil. You’ll only need to keep the seedlings at least 0.5 inches under, and nothing more.
- Water the container just enough to keep the soil moist. Be careful not to overdo it, or you’ll risk pushing the seedlings out.
During the germination process, keep the mixture moist for your seeds to thrive and grow.
As a tip, we recommend placing a plastic bag over the container to keep the potting mix moist all the time.
Also, you don’t need to worry about giving your kale seeds sunlight. You can keep them by the window, or anywhere else in your house, with no problem.
Sit back and wait for little sprouts to come out. You can also start preparing for the next batch of kale seeds you want to plant for the next winter harvest!
Doing so makes sure you don’t end up with mature kale all at once.
Transplant Process
Once you see your kale sprout, it’s time for you to prepare for the transplant process.
- Prepare your pots and containers for the transplant process. Your pot should be at least 12 to 16 inches wide and tall and must have a drainage hole. As much as possible, you want your container big enough to allow the seeds to spread their roots and grow,
- Place your potting mix inside the container, but leave at least a 1/4 space on the top.
- Gently remove the seedlings from your tray, careful not to pull or damage the roots.
- Transplant the seeds one at a time on the new container. Dig a small hole in your mix, and place the roots inside. Keep in mind that the seedlings should be at least 6-inches apart to grow properly.
- Repeat step 4 until you’ve got all your seeds transferred to its new home.
- Water the containers just enough to get the mixture moist. Use a spray bottle for this step to make sure you don’t overdo the watering procedure.
You’re finally done with growing kale indoors! As you wait for your kale to grow, keep an eye out for insect pests like cabbage worms.
They can destroy your indoor home garden and ruin your veggie patch. Worse, they can eat all the baby kale growing!
All you’ll have to do now is wait until leaves start coming out.
We bet you’re already looking forward to harvesting kale and making delicious salads from their leaves. Or maybe some delicious and nutrition pack kale chips? Sound yummy!
Conclusion
There you have it. Easy steps on how to grow kale indoors. You don’t have to visit the grocery store anymore to get your kale fix.
Growing kale indoors is so easy, and it has a ton of advantages for you and your pocket. It’s one less thing you’ll have to pay for in the market, and one more thing to learn as a life skill.
And the beauty about having your very own indoor kale garden is that you can pick the leaves anytime and have yourself a healthy fix like some yummy salads all year round.
We hope you enjoyed this article. If you have any questions about growing your kale vegetable leaves, feel free to let us know in the comment section below.
Please feel free to share this article with your friends and family and spread the word about kales delicious green leaves.
