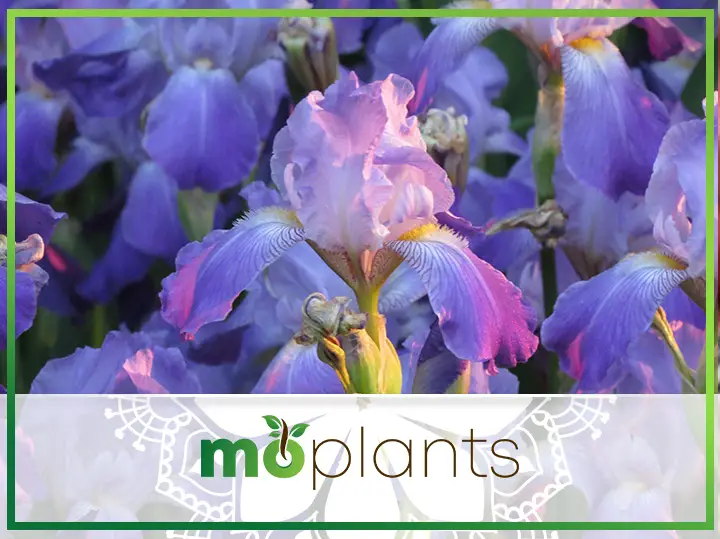
Iris is a genus of flowering plants in the family Iridaceae, native to temperate regions of the Northern Hemisphere. The common name “iris” derives from the Greek word for a rainbow because many species have seven tepals and thus appear to be multiply colored.
Iris is one of the oldest genera in the world. It has been used since ancient times for decorative purposes. Many species have been cultivated for their ornamental flowers for centuries.
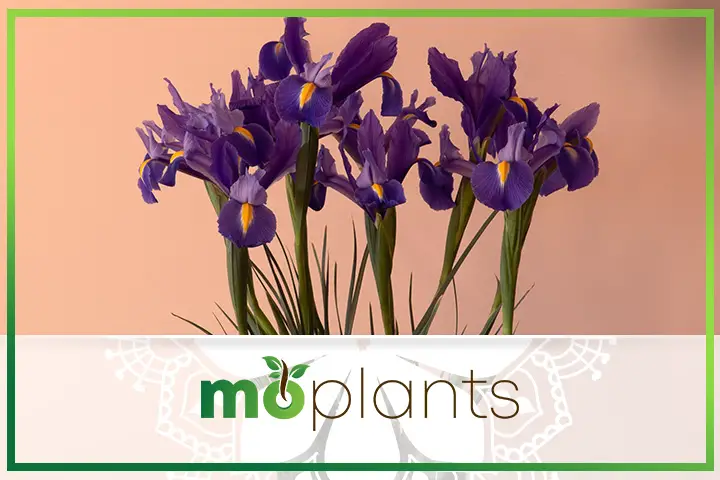
The iris flower is one of the best-loved flowers in Europe, North America, Japan, Australia, and New Zealand.
There are more than 150 iris species, with many subspecies and varieties available. There are also many hybrids available that are a cross between two or more species or subspecies of the iris (or even between an iris and some other plant).
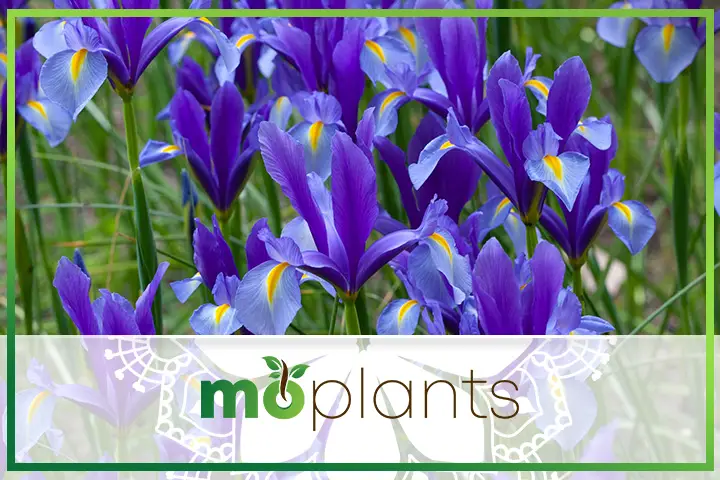
Growing iris for your backyard’s embellishment can give rise to a lot of concerns. Here is the ultimate iris growing guide to help you navigate through the process of growing one of the most beautiful flowers on the planet.
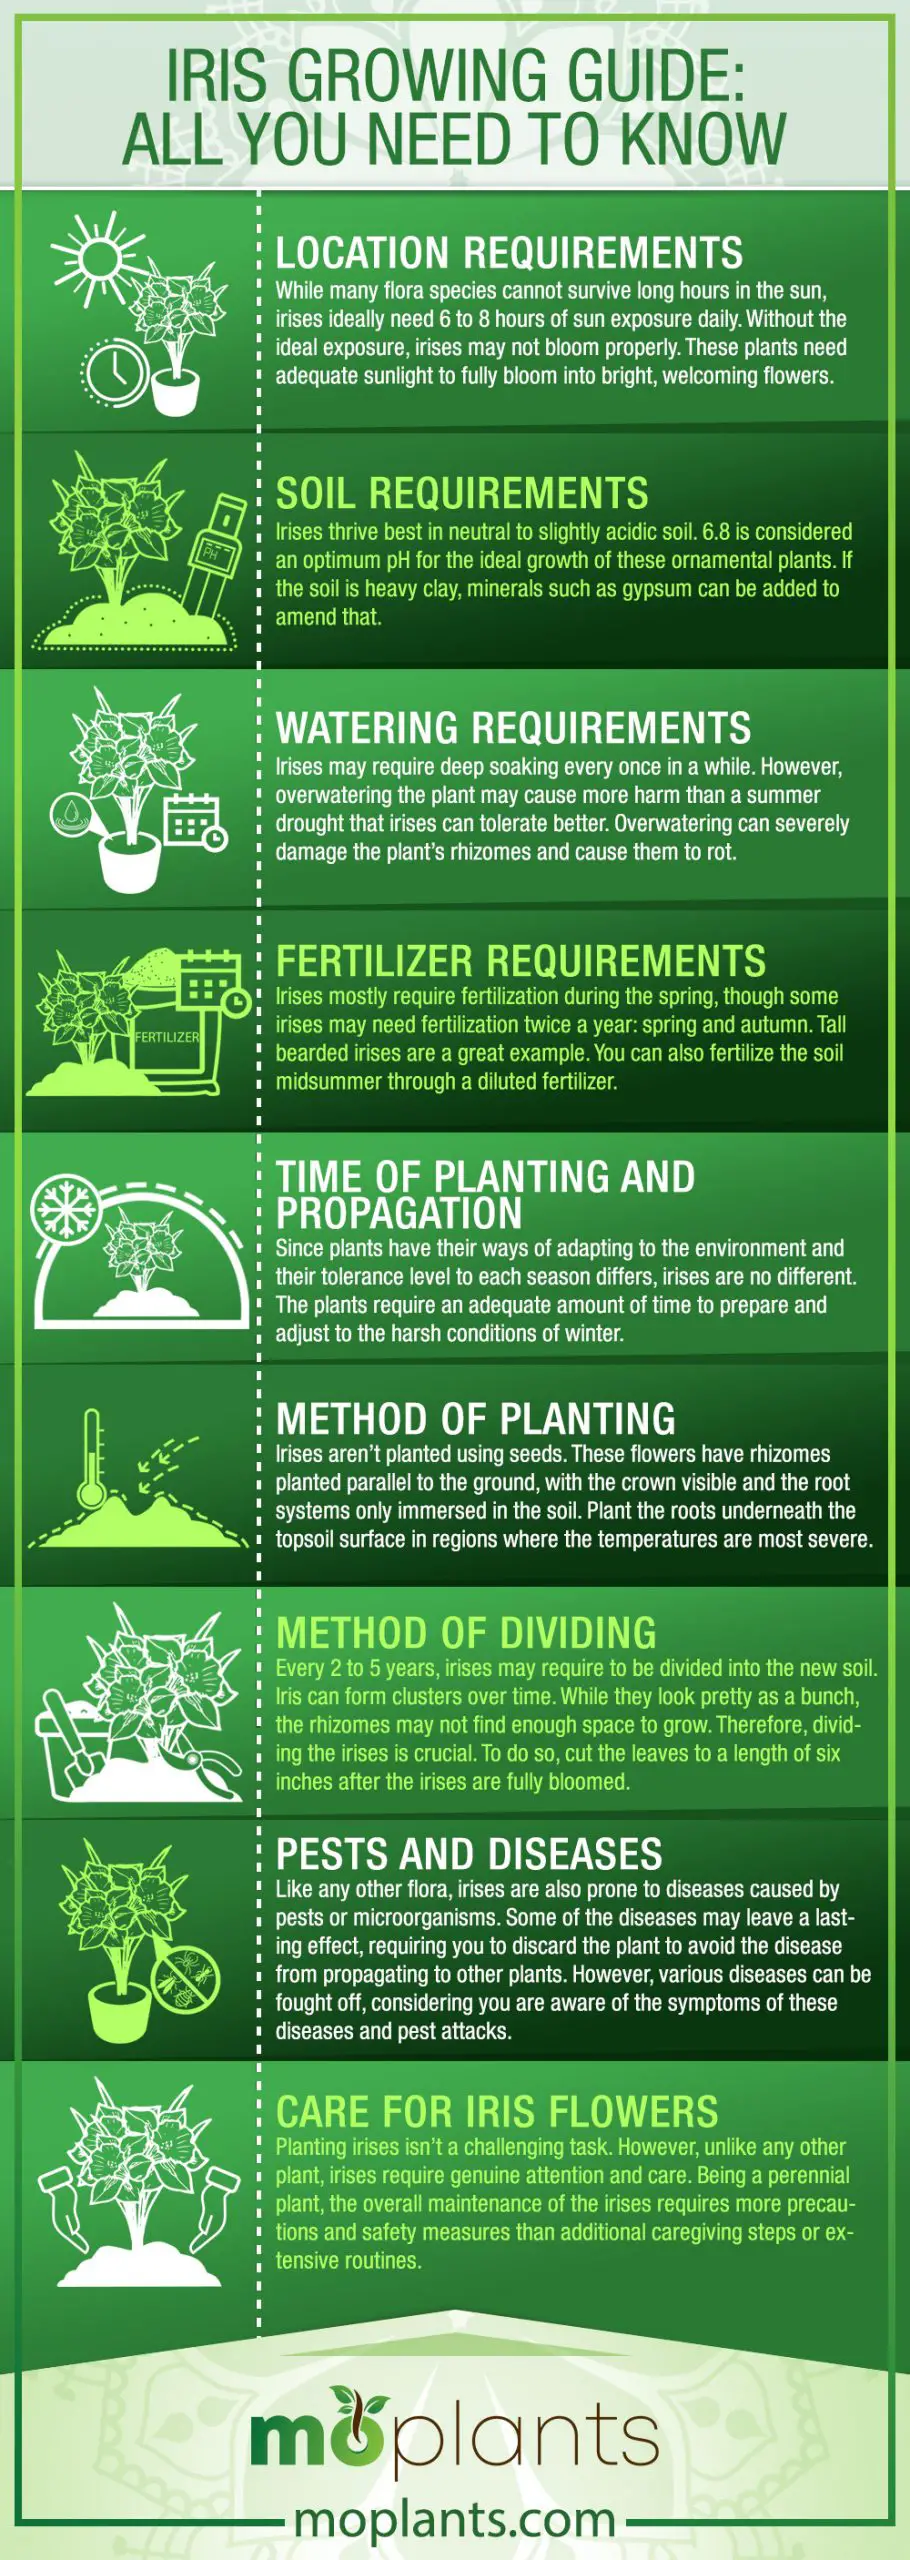
Location Requirements
While many flora species cannot survive long hours in the sun, irises ideally need 6 to 8 hours of sun exposure daily. Without the ideal exposure, irises may not bloom properly. These plants need adequate sunlight to fully bloom into bright, welcoming flowers.
Hence, when looking for a location in your backyard to plant the irises, ensure the area isn’t under a shade. Other plants in your backyard may love the shade, so you can shuffle up the placement of the pots. Remember to place the iris pot where the flowers can easily soak in the sun.
Soil Requirements
Irises thrive best in neutral to slightly acidic soil. 6.8 is considered an optimum pH for the ideal growth of these ornamental plants. If the soil is heavy clay, minerals such as gypsum can be added to amend that.
Apart from that, irises demand fertile soil with excellent drainage. The soil may be damp but not wet to a certain length, or it would shunt the plant’s growth. Planting these perennials on a sloped bed would ensure good drainage. However, wet soils don’t make the ideal beds for irises during winters.
Watering Requirements
Irises may require deep soaking every once in a while. However, overwatering the plant may cause more harm than a summer drought that irises can tolerate better. Overwatering can severely damage the plant’s rhizomes and cause them to rot.
Hence, during dry seasons, you can water your irises once a week, during the early hours or in the evenings. However, once the season shifts to snowy or rainy, halt watering as the plants get the required moisture from nature.
Fertilizer Requirements
Irises mostly require fertilization during the spring, though some irises may need fertilization twice a year: spring and autumn. Tall bearded irises are a great example. You can also fertilize the soil midsummer through a diluted fertilizer.
Since fertilization is done to impart the flora with the nutrients and minerals they lack or require for growth, irises need potassium, phosphorus, and nitrogen.
Healthy roots and stems and vibrant flowers both require high levels of potassium. Weak stems and browned or yellowed leaf margins and tips are signs of a potash deficit. For the growth of roots and stems, phosphorus is required. This mineral also promotes the growth of seeds and fruits.
Nitrogen levels provided to irises must be carefully monitored. While nitrogen deficiency can stunt plant growth, excessive nitrogen can cause more damage. The overuse of nitrogen promotes the rotting of the rhizomes, especially true during wet seasons. Hence, don’t overdo the use of nitrogen for the bed you prepare for the iris.
Time of Planting and Propagation
Since plants have their ways of adapting to the environment and their tolerance level to each season differs, irises are no different. The plants require an adequate amount of time to prepare and adjust to the harsh conditions of winter. So, when should iris bulbs be planted? The ideal time to plant most irises is late summer or early fall. This timeline holds whether you’re planting new irises in your backyard or dividing an old one to activate propagation.
Method of Planting
Irises aren’t planted using seeds. These flowers have rhizomes planted parallel to the ground, with the crown visible and the root systems only immersed in the soil. Plant the roots underneath the topsoil surface in regions where the temperatures are most severe.
Dig a 4’ x 10’ hole in the soil, and plant the rhizome on a soil slope with its roots drawn-out on each side. Let the leaves and a small surface of rhizomes visible on the soil, carefully fill the hole, and press it down.
Depending on how big the plant will be when completely grown, you can plant the irises in sets of 3, spaced 1 to 2 feet apart. Otherwise, plant the rhizomes alone in a separate space.
Usually, mulch, decaying barks, or compost are placed around plants to insulate them from harsh weather conditions. However, avoid doing this procedure on irises. The rhizomes of the iris need space and air to propagate and grow freely. Mulching around can severely deter the process and can instead cause the rhizomes to rot.
If you observe overcrowding once the plant is completely grown, it must be time to divide the iris.
Method of Dividing
Every 2 to 5 years, irises may require to be divided into the new soil. Iris can form clusters over time. While they look pretty as a bunch, the rhizomes may not find enough space to grow. Therefore, dividing the irises is crucial. To do so, cut the leaves to a length of six inches after the irises are fully bloomed.
Carefully dig through the soil and extract the iris cluster soon, typically in the summer heat. When you come across the “mother” rhizome, the original rhizome you planted, you’ll observe it has given birth to several other rhizomes in branches.
Separate the mother from the rhizomes with the help of a sharp pruning knife; the mother should be thrown away as it no longer produces blossoms.
For the rest of the branches of rhizomes, examine for any decomposing tissue, soft areas, or other symptoms that indicate infectious rhizomes, and then cut them off in full.
After adding a new soil bed, you can use the rhizomes to transplant and grow the irises.
Pests and Diseases
Like any other flora, irises are also prone to diseases caused by pests or microorganisms. Some of the diseases may leave a lasting effect, requiring you to discard the plant to avoid the disease from propagating to other plants. However, various diseases can be fought off, considering you are aware of the symptoms of these diseases and pest attacks.
Here are some common diseases or pests that are detrimental to irises.
- Ink disease (Bipolaris iridis)
When severely impacted, leaves get black blotches, become yellow or reddish-brown, and perish. On the outside of bulbs, there could be black patches that look like ink. The irreversibly altered bulbs decay, leaving an exterior “shell” covered in a mound of black fungus germs.
Since fungi cause ink disease, cutting off any infected bulbs or rhizomes is better. Discard them properly to avoid any risk of contamination. Treat the plant with fungicides to fight off any remaining fungi. Remove plant debris.
- Bulb rots (Fusarium and Penicillium species)
Plants with bulbous iris disease develop yellowing, stunting, and early death due to rot in the bulb or the leaves and stalks immediately above the bulb. The appearance of bulbs may be woody or mushy and flaky. Typically, outer leaves deteriorate before interior ones do. When infected bulbs are dug, large amounts of soil adhere to them.
Identify the infected bulbs by digging up the ground and cutting them off the plant to avoid further infection.
- Rhizome rot (Pectobacterium carotovorum)
The browning or yellowing of the outer layer of the fan is an initial symptom of the rhizome rot disease caused by bacteria residing in the rhizome. As a result, the roots of the iris emit a foul smell and become slimy. The fan showing the symptoms eventually wilts and drops off.
Identify the infected rhizomes by digging up the ground and cutting them off the plant to avoid further infection.
- Rust (Puccinia iridis)
Rust-colored patches on the leaves are the key indicator of this illness. Lesions with a powdery texture and a reddish brown color are rectangular. They appear along both edges of foliage and have the potential for developing a yellow edge.
Since a group of fungi causes the disease, fungicides are the best solution to fight off the disease. However, if fungicides are harsh, you can always try a diluted bleach solution. Make sure to rinse the leaves once you put the plant away.
- Leaf spot (Cladosporium iridis)
Leaf spot symptoms first appear as tiny, tan patches with wet borders around the leaf tips. After blooming, the spots become oval, tan lesions with a reddish brown boundary and a yellow halo, losing their wet margins and enlarging quickly.
Remove the severely affected leaves by cutting them off and discarding them carefully to avoid contamination of other plants. Spray fungicides or go for a home-based solution such as using neem oil. While the plant is recovering, isolate it to avoid disease propagation and ensure dry environmental conditions for the plant, as humid conditions are a bed of fungi growth.
Care for Iris Flowers
Planting irises isn’t a challenging task. However, unlike any other plant, irises require genuine attention and care. Being a perennial plant, the overall maintenance of the irises requires more precautions and safety measures than additional caregiving steps or extensive routines.
Here are some common things you must take care of:
- Do not overwater irises. The extra water can cause the rhizomes to go bad. However, this possibility shouldn’t stop you from frequent watering during hot summer days when irises need hydration.
- Deadheading is the regular removal of wasted flowers. Ensure the procedure is consistently carried out to give space for the growth of new buds.
- Add support to taller iris plants, so they stay upright; otherwise, they can fall.
- Apply an inch or two of sand and a thin coating of evergreens to the rhizomes after the soil freezes, and then remove them after the forsythias blossom the following season to shelter them during the winter.
- When the iris foliage is severely frozen, remove and destroy it.
- When the iris growing season begins, give the plants a fertilizer boost using a versatile compost all around them. Steer clear of fertilizers that contain extreme amounts of nitrogen. It is ideal for fertilizing blooming irises once the initial blossoming has ended.
- Remove old leaves and winter mulch in the early spring to make room for new, healthy growth.
- Rhizomes of irises need air to stay on top of the soil’s layer. In contrast, bearded iris bulb counterparts thrive deep below the soil.
- Leaves on the iris plant may change color or develop spots after extremely cold weather. Cut these sections out for your plant’s longevity.
- After the bloom, cut flowers from the stem to the base to prevent rhizome rot. Photosynthesis continues in the plant’s leaf, producing liveliness for the following year’s growth and blooming. If needed, simply get rid of the brown and rotten leaves.
Infographic
Conclusion
Irises have been adorning the backyards and balconies of people around the planet for centuries. One of the oldest genus with numerous brightly colored species has made irises an in-demand decor element as it symbolizes faith and hope. While growing these plants in your backyard is as easy as growing any other plant, the preventive measures regarding watering and diseases are the ones to keep in mind. Also, be assured you know when iris bulbs should be planted, which could result in stunted growth.
Irises are one of those few perennial plants prone to deterioration when a procedure is overdone. Hence, avoid feeding too much nitrogen in fertilizers during the iris growing season, avoid watering every couple of days, avoid protecting them from sunlight, and don’t mulch around to insulate during the initial growth process. Let the irises be free, and they’ll bloom just like they are meant to. Happy planting!