If you’ve ever been curious about growing your food but never found the money, space, courage, or time to commit to an all-out garden, then indoor gardening is for you.
It is easy enough to start and maintain that all beginners will be hard-pressed not to enjoy it.
Here, we will tell you all that you need to know and consider before starting your very own indoor garden!
Why Try Indoor Gardening?
I remember having accidentally bought an onion with green shoots still on top of it.
To our surprise, it continued growing in the pantry. It was so effortless that we just had to consider indoor gardening. So why should YOU try it?
You Can Grow Vegetables Indoors Year Round!
If you live somewhere with four seasons or freezing winter months, gardening is one thing that can be difficult to maintain.
Moreover, you have to note so many dates and factors that it is more difficult to grow vegetables outdoors.
While others start seeds indoors and merely transplant them outdoors in late spring, this will not work if your outdoor behavior is not cooperative. It would be a waste of all that time and effort you spent on taking care of those seeds.
Moreover, if you live in areas where storms or typhoons are also common, you know how strong those winds can get. Mother Nature has not always been kind to our plants.
The great thing with indoor gardening is that now is all that matters! Regardless of the weather or time of year, you can grow indoor plants and vegetables all year round!
You Do Not Need A Lot of Space
Most of us live in urban areas where outdoor space is a luxury. And even then, our balconies or yards have minimal places where we can grow vegetables.
Indoor gardening is great for those living in apartments or condominiums and does not have soil space available.
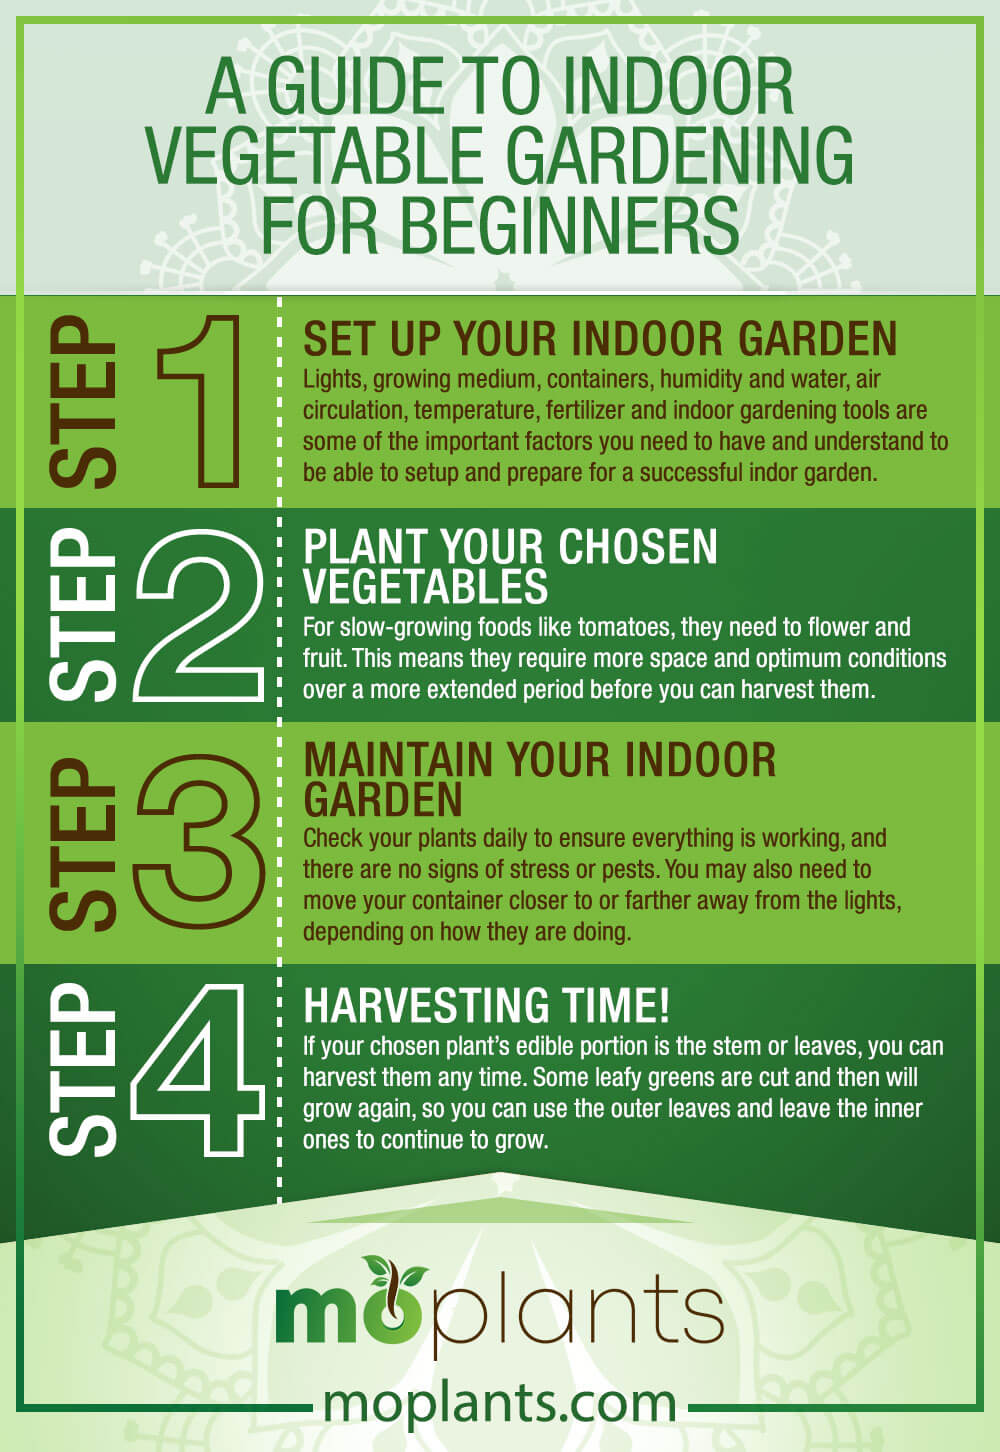
Step #1: Set Up Your Indoor Garden
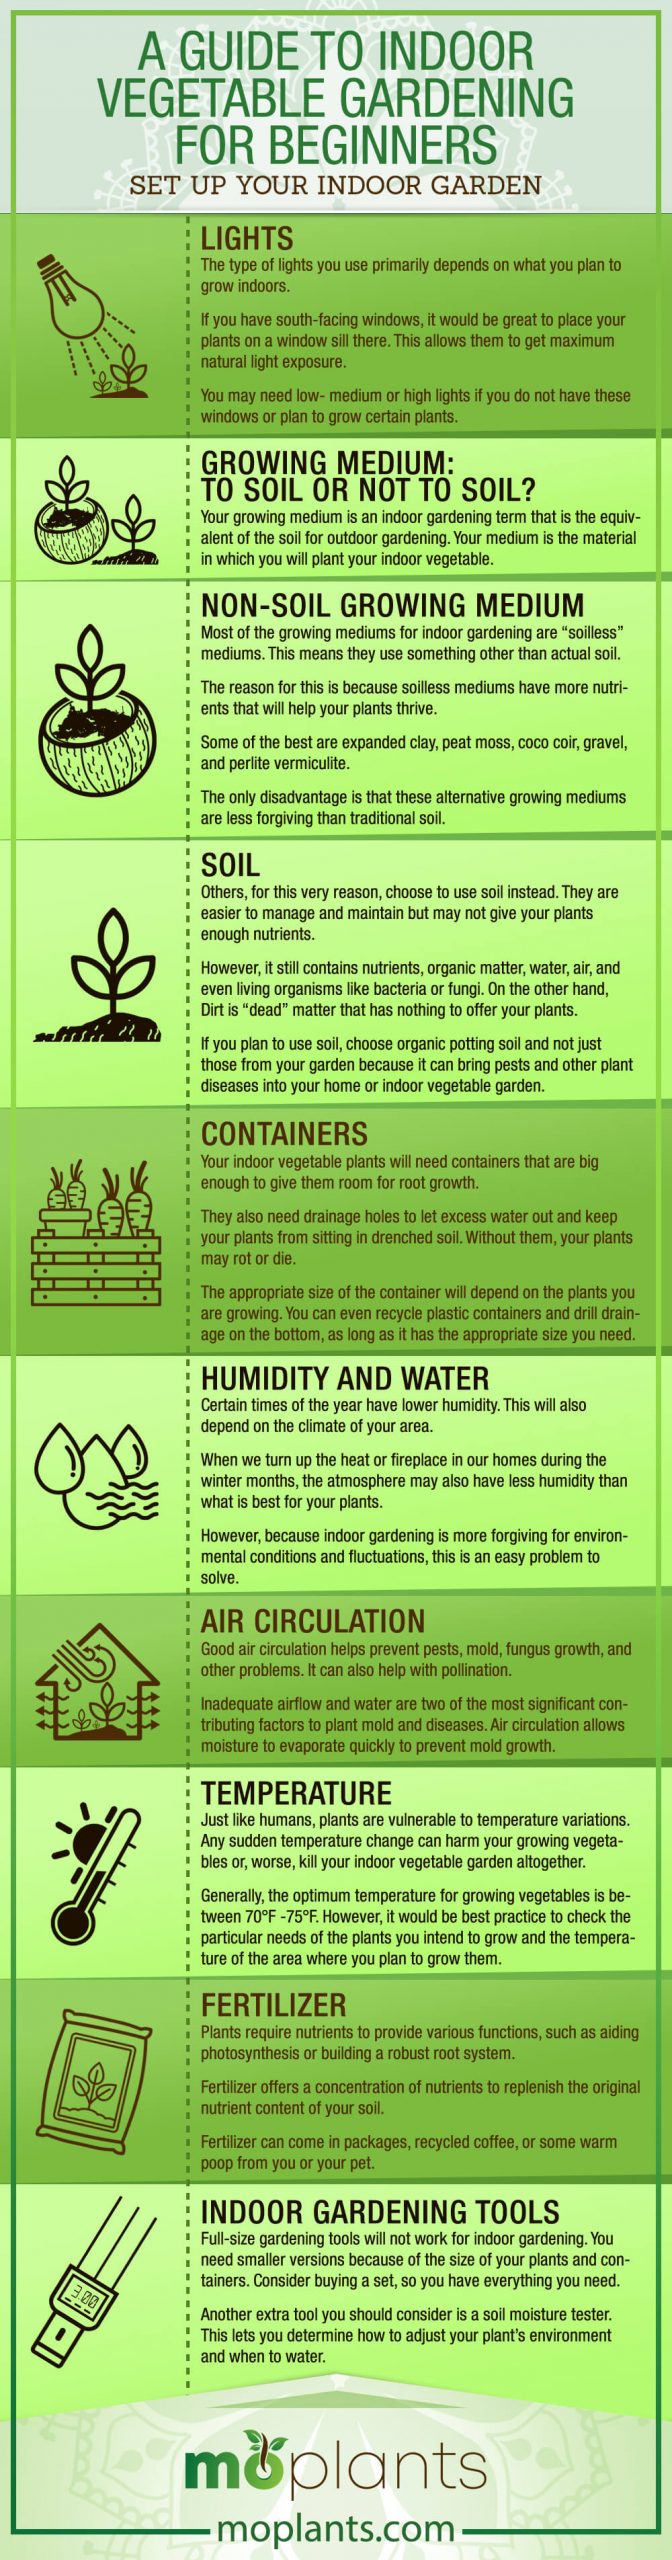
Lights
The type of lights you use primarily depends on what you plan to grow indoors.
If you have south-facing windows, it would be great to place your plants on a window sill there. This allows them to get maximum natural light exposure.
You may need low- medium or high lights if you do not have these windows or plan to grow certain plants.
Traditional fluorescent shop lights or cool spectrum grow lights work for seed starting and quick-growing.
They also work for cool-tolerant crops. This is because they enjoy moderate light and warmth of about 60°F/15°C. You can place them at a sunny south-facing windowsill or under shop lights 12 to 16 inches away.
As for herbs, some may do fine with shop lights while others require higher heat and light.
Warm spectrum grow lights are suited for specific herbs and fruiting plants.
These plants require full light and warmer temperatures to bear fruit. To do this, you need to place them directly below grow lights, about 6 to 12 inches above their tops.
Pro Tip!
Opt for LED lights when you can, as this will help you save money in the long-run.
Despite the higher upfront cost, they last longer and use less electricity than other lights. Plus, they don’t heat up, so you will not accidentally burn yourself or your plants.
Growing Medium: To Soil or Not to Soil?
Your growing medium is an indoor gardening term that is the equivalent of the soil for outdoor gardening. Your medium is the material in which you will plant your indoor vegetable.
Non-Soil Growing Medium
Most of the growing mediums for indoor gardening are “soilless” mediums. This means they use something other than actual soil.
The reason for this is because soilless mediums have more nutrients that will help your plants thrive.
Some of the best are expanded clay, peat moss, coco coir, gravel, and perlite vermiculite.
The only disadvantage is that these alternative growing mediums are less forgiving than traditional soil.
This means you need to pay closer attention and take better care of your indoor garden to make sure your plants grow successfully.
Soil
Others, for this very reason, choose to use soil instead. They are easier to manage and maintain but may not give your plants enough nutrients.
However, it still contains nutrients, organic matter, water, air, and even living organisms like bacteria or fungi. On the other hand, Dirt is “dead” matter that has nothing to offer your plants.
If you plan to use soil, choose organic potting soil and not just those from your garden because it can bring pests and other plant diseases into your home or indoor vegetable garden.
Store excess unused potting in an opaque container and the tub in a stable, dry area like your garage or basement.
Avoid getting the soil wet and do not keep it in a place where common garden pests can get to it or where it is easily infected with bacteria.
Check your stored soil every few months to make sure it is still in good shape and has not started to spontaneously grow anything.
You can use the potting soil you bought for years to come, but the nutrient content will diminish because microbes will eat it. If you are using older stock, you can add fertilizer to ensure it has enough nutrients for your plants.
Pro Tip!
You can begin with a basic seed starting mix for starting plants from seed and then transfer the seedlings into an organic potting mix made for vegetables when they have sprouted a few leaves already.
Make sure you use a sterile potting mix and not garden soil or leftover soil from other plants. This will help you avoid transmitting or transferring pests or diseases.
If you start with plants from a garden nursery, you will need an organic potting mix to fill in space when they go into bigger pots when you get home.
Containers
Your indoor vegetable plants will need containers that are big enough to give them room for root growth.
They also need drainage holes to let excess water out and keep your plants from sitting in drenched soil. Without them, your plants may rot or die.
The appropriate size of the container will depend on the plants you are growing. You can even recycle plastic containers and drill drainage on the bottom, as long as it has the appropriate size you need.
Keep each plant in its container, so it is easy to move things around, depending on your plants’ needs.
Pro Tip!
Group your plants by light needs and mature plant sizes. This will let you find the best position for your grow lights and make it easier to maximize your space.
Check the information on the seed packets or plant tags, or ask the plant nursery sellers for this information.
For leafy greens, consider using plastic window boxes that are approximately 8 to 10 inches deep. This size suits just about everything.
Humidity and Water
Certain times of the year have lower humidity. This will also depend on the climate of your area.
When we turn up the heat or fireplace in our homes during the winter months, the atmosphere may also have less humidity than what is best for your plants.
However, because indoor gardening is more forgiving for environmental conditions and fluctuations, this is an easy problem to solve.
Use a spray bottle to mist each of your plants every day. You can also get automated misters if you want.
To keep the potting mix moist, you can use a household watering can with a long, narrow neck to quickly and directly pour water into the right areas.
If your tap water quality is questionable, you may need to boil and cool it first or use filtered water.
Air Circulation
Good air circulation helps prevent pests, mold, fungus growth, and other problems. It can also help with pollination.
Inadequate airflow and water are two of the most significant contributing factors to plant mold and diseases. Air circulation allows moisture to evaporate quickly to prevent mold growth.
To check whether you have enough airflow, monitor how quickly the soil dries up. If it is taking longer to dry than expected, then you should experiment with better airflow.
You can keep an oscillating electric fan by your indoor vegetable garden to keep the air circulating.
You can get one that runs on a digital timer, so you can set how many hours each day you want it on. You can adjust the ceiling fan on or the window open once in a while if warm enough.
Even though it is a garden indoors, it is best to keep the plants near a window to take advantage of natural light and the light breeze that usually occurs during the day.
During warmer months, you can also take the plants outside for a few hours during the day.
Temperature
Just like humans, plants are vulnerable to temperature variations. Any sudden temperature change can harm your growing vegetables or, worse, kill your indoor vegetable garden altogether.
Generally, the optimum temperature for growing vegetables is between 70°F -75°F. However, it would be best practice to check the particular needs of the plants you intend to grow and the temperature of the area where you plan to grow them.
We advise you to buy a thermometer with minimum and maximum range alerts that will help you monitor whether your plants are under the best conditions for their growth.
If you have central heating and air conditioning for your house, it should be easy to adjust the temperature conditions.
Do note that the placement of your indoor garden and its proximity to natural light sources, appliances, or air and vents will affect the temperature of the area around them. So do not just rely on temperatures based on your centralized system.
These temperature ranges are the best growing conditions. If your room or growing area does not exactly meet them, you can still grow your plants. However, they may take longer.
Fertilizer
Plants require nutrients to provide various functions, such as aiding photosynthesis or building a robust root system.
Fertilizer offers a concentration of nutrients to replenish the original nutrient content of your soil.
Fertilizer can come in packages, recycled coffee, or some warm poop from you or your pet.
Think of it as food for your plants. Different plants require different levels of nitrogen, phosphorous, and potassium (NPK) to live.
These are the essential nutrients your plants need to thrive. Check the NPK ratios to determine if it is the right fertilizer for the particular plants you are growing in your indoor vegetable garden.
Buy organic fertilizer, as these are made to improve your soil as time passes, unlike synthetic fertilizers, which can slowly diminish your soil’s quality.
Indoor Gardening Tools
Full-size gardening tools will not work for indoor gardening. You need smaller versions because of the size of your plants and containers. Consider buying a set, so you have everything you need.
Another extra tool you should consider is a soil moisture tester. This lets you determine how to adjust your plant’s environment and when to water.
Infographic
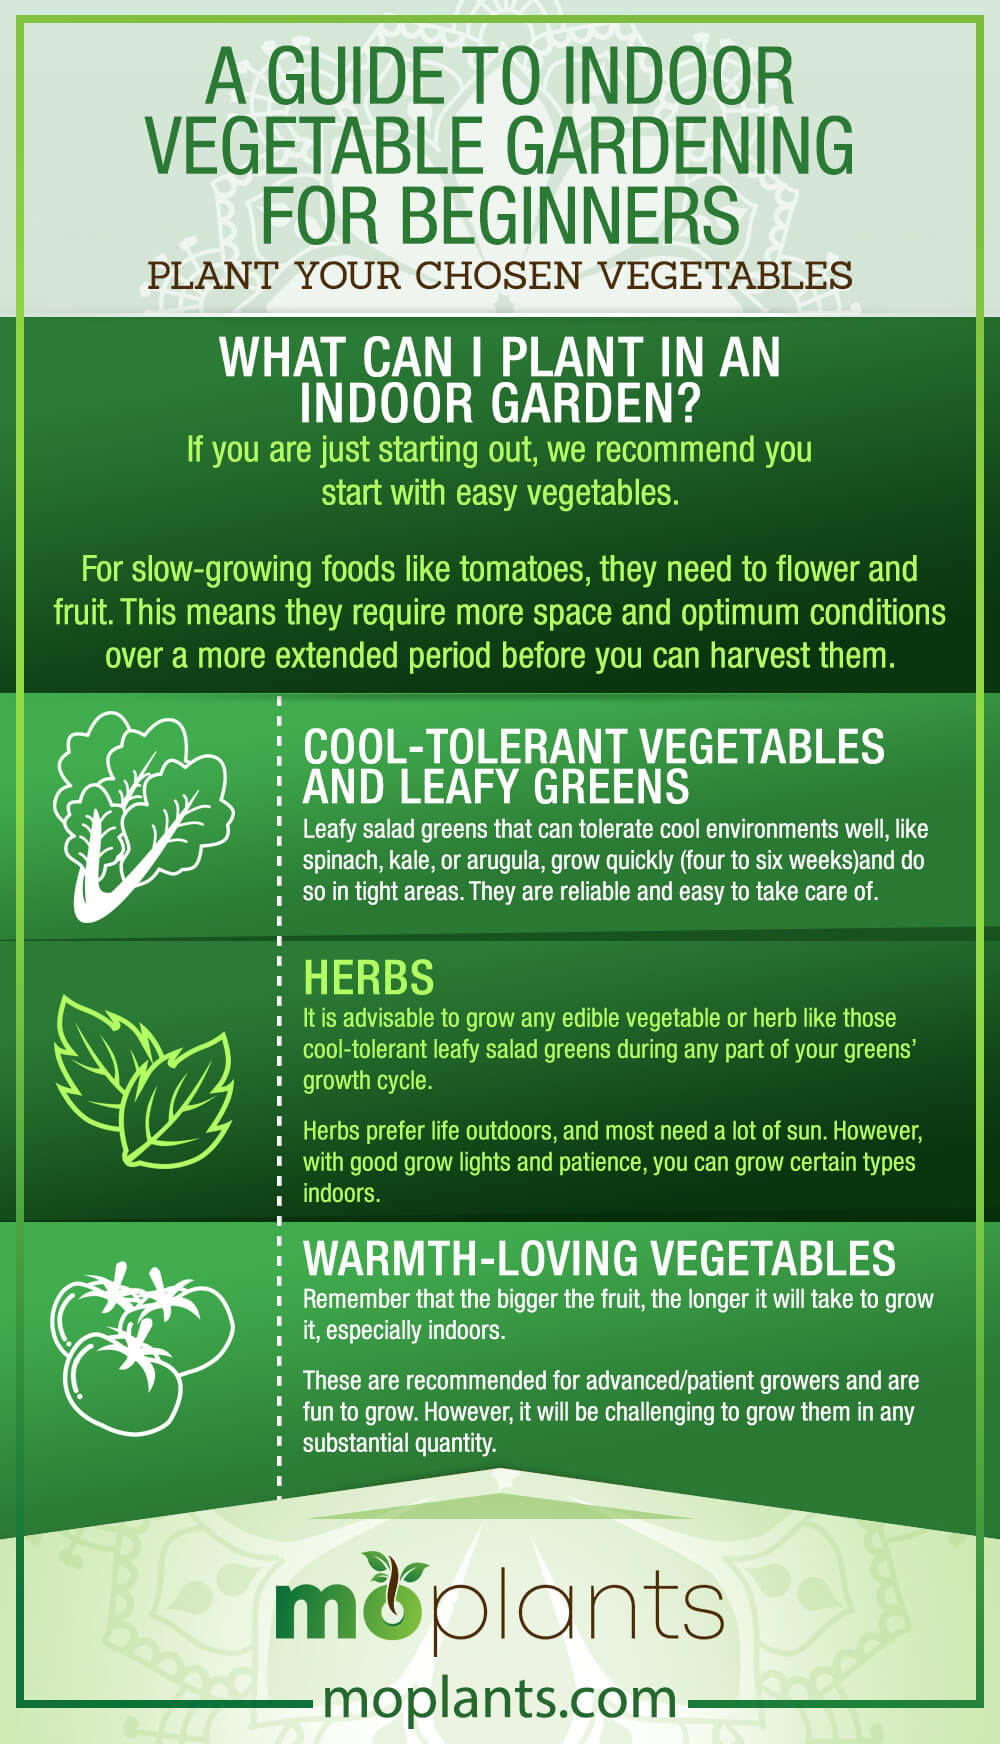
Step #2: Plant Your Chosen Vegetables
What Can I Plant in an Indoor Garden?
If you are just starting out, we recommend you start with easy vegetables.
For slow-growing foods like tomatoes, they need to flower and fruit. This means they require more space and optimum conditions over a more extended period before you can harvest them.
Here are some more specific details:
Cool-Tolerant Vegetables and Leafy Greens
Leafy salad greens that can tolerate cool environments well, like spinach, kale, or arugula, grow quickly (four to six weeks)and do so in tight areas. They are reliable and easy to take care of.
- Light Requirement: 12 hours a day
- Temperature Requirement: 60°F/15°C
Examples:
- Carrots (small and sweet)
- Arugula
- Beets (greens, tiny roots)
- Brocolli (stalks, greens only)
- Brussels sprouts (stalks, greens only)
- Kale
- Leafy greens (but not head lettuce)
- Mache (corn salad)
- Microgreens (edible seedlings)
- Mustard greens
- Peas
- Radish
- Sorel
- Spinach
- Swiss chard
- Watercress
Herbs
It is advisable to grow any edible vegetable or herb like those cool-tolerant leafy salad greens during any part of your greens’ growth cycle.
Herbs prefer life outdoors, and most need a lot of sun. However, with good grow lights and patience, you can grow certain types indoors.
- Light Requirement: 12 – 16 hours a day
- Temperature Requirement: 70°F/20°C
Examples:
- Basil (grow roots in water for a while)
- Oregano
- Peppermint
- Rosemary
- Sage
- Spearmint
- Thyme
Warmth-Loving Vegetables
Remember that the bigger the fruit, the longer it will take to grow it, especially indoors.
These are recommended for advanced/patient growers and are fun to grow. However, it will be challenging to grow them in any substantial quantity.
- Light Requirement: Full sun (high light 14 – 20 hours a day)
- Temperature Requirement: 70°F/20°C
Examples:
- Tomato
- Strawberry
- Peppers
- Cucumber
- Citrus trees/Dwarf varieties (start with a grafted tree)
Infographic
Step #3: Maintain Your Indoor Garden
Check your plants daily to ensure everything is working, and there are no signs of stress or pests. You may also need to move your container closer to or farther away from the lights, depending on how they are doing.
Certain food plants such as tomatoes may need help with pollination.
You can do this by using your fingertip to dab each flower and distribute the pollen once it is visible on the flowers. The following are details you need to pay extra attention to.
Water Your Indoor Plants
Overwatering is one of the most common causes of death for indoor plants. It is not about the frequency of the watering or about sticking to a watering schedule.
When to Water
You need to pay attention to the leaves. If the leaves are beginning to turn yellow, your plants need less water and more nutrients. If it is brown and crunchy, then it needs more water.
If there are no leaves or they are not growing, they need more water and sunlight. Get started with more water first. If this does not work, then they need more light, too.
Next, pay attention to the soil. If it feels too wet on top or when you stick your finger in it, do not keep watering the plant. The water needs to drain so that it does not accumulate, become stagnant, and breed mold.
Overwatering can also put your vegetables at risk of drowning. Remember that the roots also need air.
This is why having drainage holes is critical to your containers. Drainage can save your plants as it can account for your mistakes when it comes to watering.
If you do not have proper drainage, err on the side of caution. Be conservative in how much you water your plants and pay attention to how long it takes the soil to dry.
If the growing medium stays wet all week, that is a warning that you need to figure out a better solution to improve airflow and that you need to water less.
You would want your soil to dry for vegetables or microgreens sooner than a few days, as they are more prone to developing mold in a shorter amount of time.
How to Water
Some plants thrive more with bottom watering. This is when moisture wicks through the soil.
Other plants are more suited for pouring water directly on top of the growing medium. This is highly dependent on the variety of your vegetables.
Research on what watering technique works to maximize the growth of your vegetables indoors. When in doubt, opt for bottom watering as the biggest roots of your vegetables should reach this.
Apply Fertilizer As Needed
Water your plants before adding dry fertilizers. This will allow your indoor plants to absorb the nutrients. Then, follow the instructions on the fertilizer package on how often you should use it.
Suppose your packaged fertilizer is not specific to indoor gardening. In that case, we recommend that you use only 1/4 to 1/2 of the recommended dosage, as you have a smaller amount of soil to fertilize.
As to liquid fertilizers, you can dilute them to a houseplant’s strength. This can replace regular watering. Check the label for the proper dilution ratio.
Flush Your Plants
Flushing refers to the process of heavy watering to remove excess fertilizer from the soil.
This is because while the fertilizer’s nutrients are absorbed by your vegetable indoors, other fertilizer components will just sit in the soil. This can adversely affect your plants.
If you have drainage holes in your containers, consider heavily watering your vegetables indoors, then let them thoroughly drain out.
It would help if you did this on a monthly basis to flush out the extra fertilizer components and keep your soil healthy.
Step #4: Harvesting Time!
If your chosen plant’s edible portion is the stem or leaves, you can harvest them any time. Some leafy greens are cut and then will grow again, so you can use the outer leaves and leave the inner ones to continue to grow.
Herbs are also harvested as needed by removing small amounts for cooking and leaving the rest of the plant in your garden to continue growing.
As to fruits, look up the days to maturity to know when to expect harvest time. Depending on the lighting and other conditions, this may take longer than what the seed packets say.
Infographic
Conclusion
With this guide, it is easy for one to get started with gardening your favorite vegetable indoor. While there is a lot to consider to ensure your vegetables grow indoors, it is not as complicated as other types. of gardening.
There is a lot you can grow indoors if you just spend the time, love, and patience on your indoor plants!
