Do you have a wisteria plant? Are you finally ready to move it to a new and better location? Well, you’ve found yourself in the right place because this article is for you.
A wisteria plant is one of those vines you’d be lucky to plant and grow in your garden. Its beautiful purple flowers look straight out of a Midsummer’s Night Dream, which we are sure you’ll love.
Today, we’ll guide you on how to transplant your wisteria vines to their new location safely. And once we’re done with that, you’ll feel as if you have a new plant in your garden!
Materials You Will Need to Transplant a Wisteria
Before we start working on our wisteria, let’s prepare all our materials for a hassle-free gardening experience.
Don’t worry because you don’t need a ton of money nor equipment to transplant your wisteria. You might even have some of the materials already in your gardening shed!
Here are some of the materials you’ll need:
- Gardening gloves;
- Spade or;
- Garden hose or watering can;
- Garden hoe; and
- Organic compost and fertilizer
- Burlap, but you can choose other materials as an option.
Transplanting Wisteria to Its New Home
Now that you’ve got all your materials ready, it’s time to get your hands dirty and start with transplanting wisteria vines.
As much as possible, we want to be sure nothing goes wrong, and nothing gets in the way of our process.
And in doing so, we’ve prepared guides for you to follow.
The first will help you prepare for the transplanting procedure, the second is for the actual transplanting on the new site, and the third is on how to cultivate the area for a good growth habit.
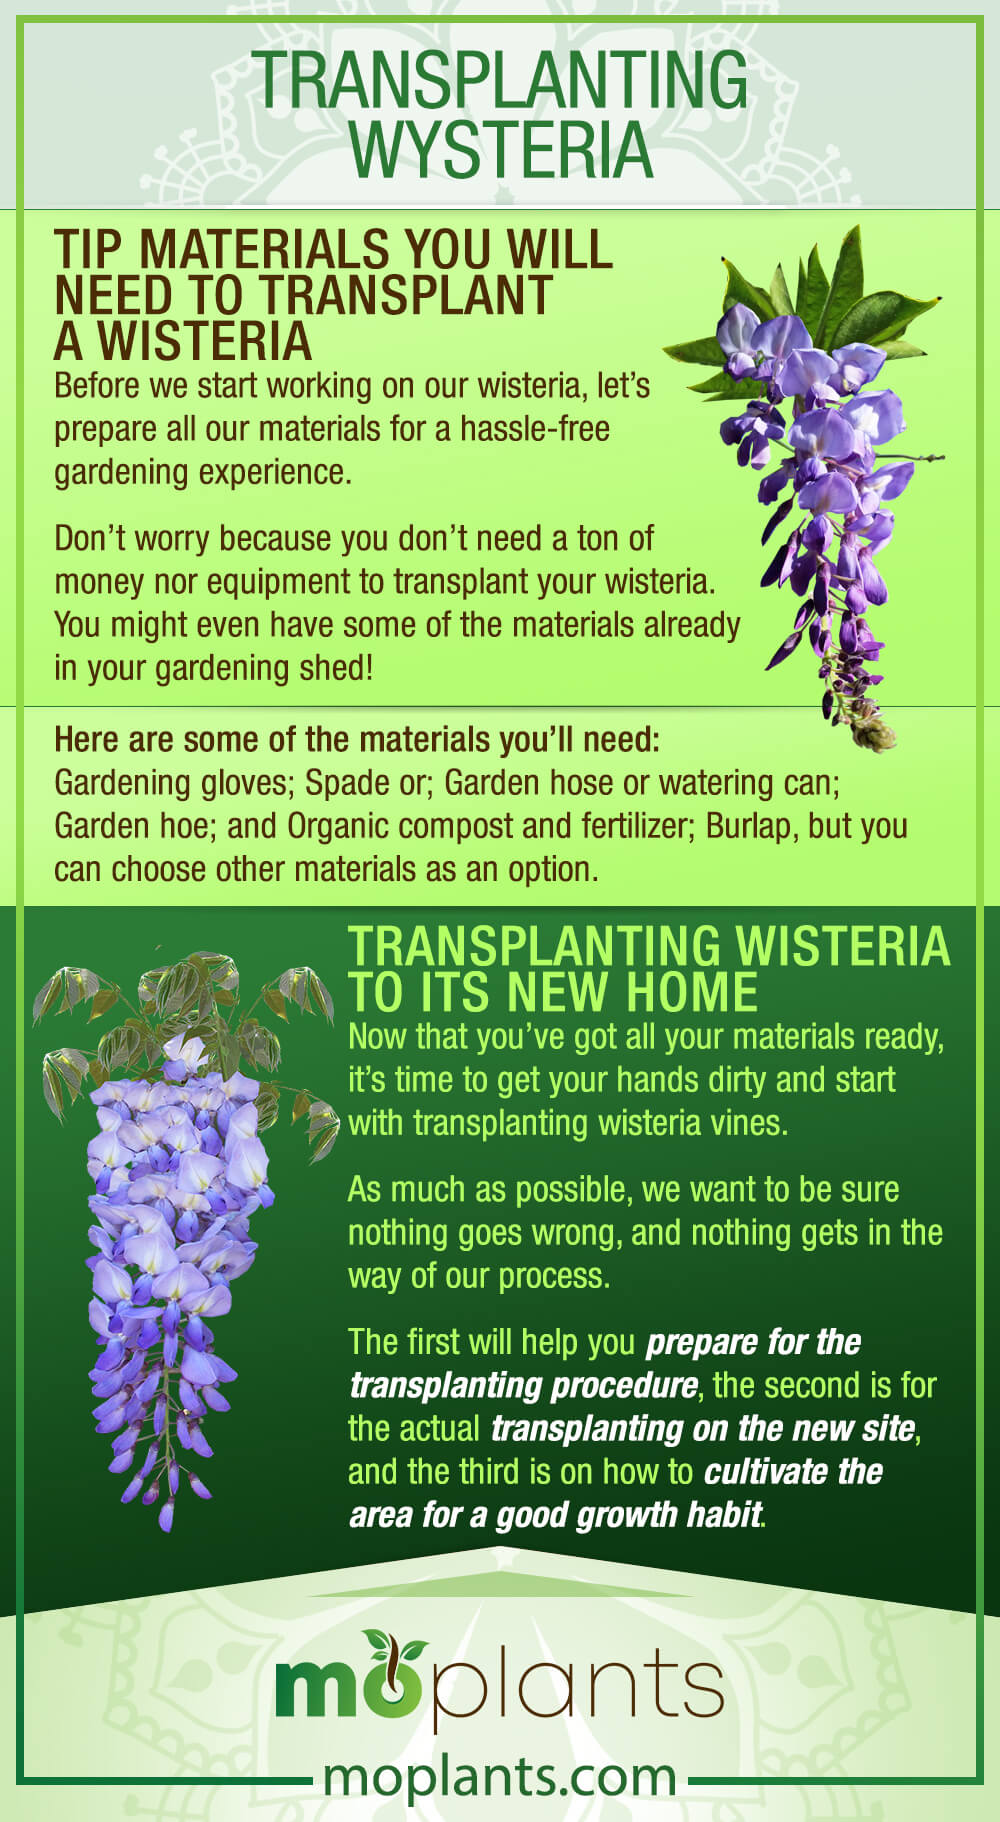
Infographic

Preparing for the Transplant
Like everything else in life, pruning practices requires time and preparation. And don’t worry because it’s easy!
- Prepare your wisteria a night before by watering them. Be sure to get the wisteria roots nice and wet so that it’s moist in the morning.
- Using a spade sod cutter, draw a root pruning circle around the wisteria to target its working site.
- On the next day, hold your wisteria gently. Using a shovel, dig a hole around the plant until you find the roots.
- Once you’ve spotted the root ball, wedge your shovel under the plant. Slowly pry the roots from the soil so that you can easily pull the wisteria from the soil without damaging the root mass and causing transplant shock.
- Now that you’ve pulled the wisteria out place the wisteria on a piece of burlap. You’ll use the burlap to transport the wisteria to its new planting location.
Transplanting Wisteria in Its New Home
Now that you’re done with the preparation, it’s time to move your wisteria to its new garden location finally.
- Choose a full sun area for the transplant. Make sure to put nice organic compost on the hole and around the site to have excellent soil fertility.
- In the same area, dig up to 18 or 24 inches of soil using your trusted garden hoe, and apply the same organic compost.
- Once you’ve worked on the soil of the area, it’s time to finally dig a hole for you to plant the root ball. For this step, 24 inches won’t be enough like in the previous step. Instead, you’d want to pattern the hole depending on the height of the root ball and the width of the plant trunk.
- After, prepare your wisteria, remove it from its container, and put the roots in the bottom of the hole. Secure the roots inside, and fill the area with soil and healthy organic matter.
- Now that you’ve covered up the ground give the wisteria a slight tug to make sure it isn’t planted loosely on the ground. The last thing you’d want to happen is to have the plant blown away by the early spring air.
Cultivating the Area
Your job isn’t over yet until you’re sure you’ve given your wisteria enough love and attention. Your job continues until you’ve finally seen the beautiful woody branches flourish.
- Once every week, water the area to promote healthy and new growth. Soon enough, you’ll find a vine blooming in your garden.
- After several weeks of watering the wisteria, check if the roots have established themselves on the soil. Give the wisteria a slight tug and check if it’s firm in place.
- If the wisteria is secure, you can already stop Step 1. Instead, watering is only necessary once the soil has dried up or if you notice the leaves wilting.
- Don’t forget to fertilize the area. This is one of the most gardening tips you’ll need to remember, not just for wisteria. It’ll promote vine growth and encourage years old worth of wisteria plants.
Conclusion
There you have it, folks! Simple and steps to transplant a wisteria vine. You’ve got nothing to worry about because you’ve got this. Trust in the process, and you might be the next Amelia Allonsy!
All you’ll have to now is sit back and wait for your new wisteria plants to flourish and grow. And voila! You’ve got yourself beautiful flower clusters in your garden.
We hope you learned a lot from this easy to follow gardening information guide.
If you have any questions or clarifications about transplanting wisteria vines, feel free to reach us. We’ll be glad to answer them and provide you with more information!
And if you enjoyed this review, like and share this article! Let’s reach more people so we can help, spread the information, and give life to their wisteria plant.

