Creating your very own herb garden is pretty easy. You don’t have to keep buying if you grow herbs straight from your kitchen window! You can be your gardener!
Today, we’ll teach you how to create your very own window box herb garden. Excited to start growing straight from your kitchen window? Keep reading and let’s get started!
Things You’ll Need
You can find an herb garden kit almost anywhere, and those products are pretty useful for beginners. You’ve also got easy to grow container plants that’s a sure winner for many beginners.
But what if we tell you that you don’t need those kits just to create your window box herb garden?
You can get all the materials you need for your herb garden, and be creative and flexible! You can grow your parsley, oregano, basil, and so much more!
Here are some important materials you’ll need for your window box garden.
Herbs
What culinary herbs do you want to plant?
There’s plenty for you to choose from, each providing gardeners with a ton of nutritional benefits and flavor! Here are some of the common culinary and Mediterranean herbs you can plant:
- Basil
- Mint
- Thyme
- Parsley
- Sage
- Chives
- Rosemary
- Oregano
Choosing any one of those different herbs proves to be useful, especially around the kitchen. But to help you with your choice, we came up with a simple guide to narrow down your selection:
- Which herb do you use in the kitchen the most?
- How long does it take for the herb to grow?
- Will the herbs strive in the environment you live in?
- Will the herbs require special aftercare procedures?
- Do your plant choices have similar or different needs?
Pots and Containers
One thing you should never do is underestimate the power of having a quality pot and containers for your window boxes.
Sure there’s a ton of planter or pots to choose from, but not all of them are always the best for creating window boxes.
As a rule, always choose a pot and containers that have good drainage holes for the excess water to come out. Just imagine the state of your roots if your pot doesn’t have any drainage. It’s a disaster!
Choose a planter or pot that has great drainage and also comes with a tray to catch the water. Also, be sure that the size of your pots fits well on your window boxes.
Potting Soil
You’ve got a variety of soil to choose from, but not all of them are always the best.
This is especially true for growing herbs, where you’ll be needing quality and fast-draining potting mix to supplement the growth of your plant.
Do note that you won’t be needing a ton of fertilizer for your herb plants.
Having too much fertilizer could even destroy your herb garden altogether and stop its growth! That said, you’ll only be needing a small amount of fertilizer.
Garden Plan and Location
It’s time to plan where you want to place your herbs. Not all plants have the same growth level and sunlight requirements.
Herbs like rosemary, sage, and thyme require a ton of sunlight. If that’s the case, you may want to place them on a windowsill that has a ton of sun exposure.
On the other hand, some herbs don’t require too much sun exposure. These are your culinary herbs like cilantro, tarragon, chives, and more.
Tender Loving Care
Like everything else that breathes life, plants and herbs require love and care from you.
That said, prepare some one on one time with your plants. Water your herbs when necessary and be sure it gets enough sunlight.
Other Gardening Tools
Besides those materials we’ve mentioned above, here are other common gardening tools you’ll be needing:
- Fertilizer
- Garden gloves
- Shears
- Small gardening spade;
- Water Can
Making Your Herb Gardens
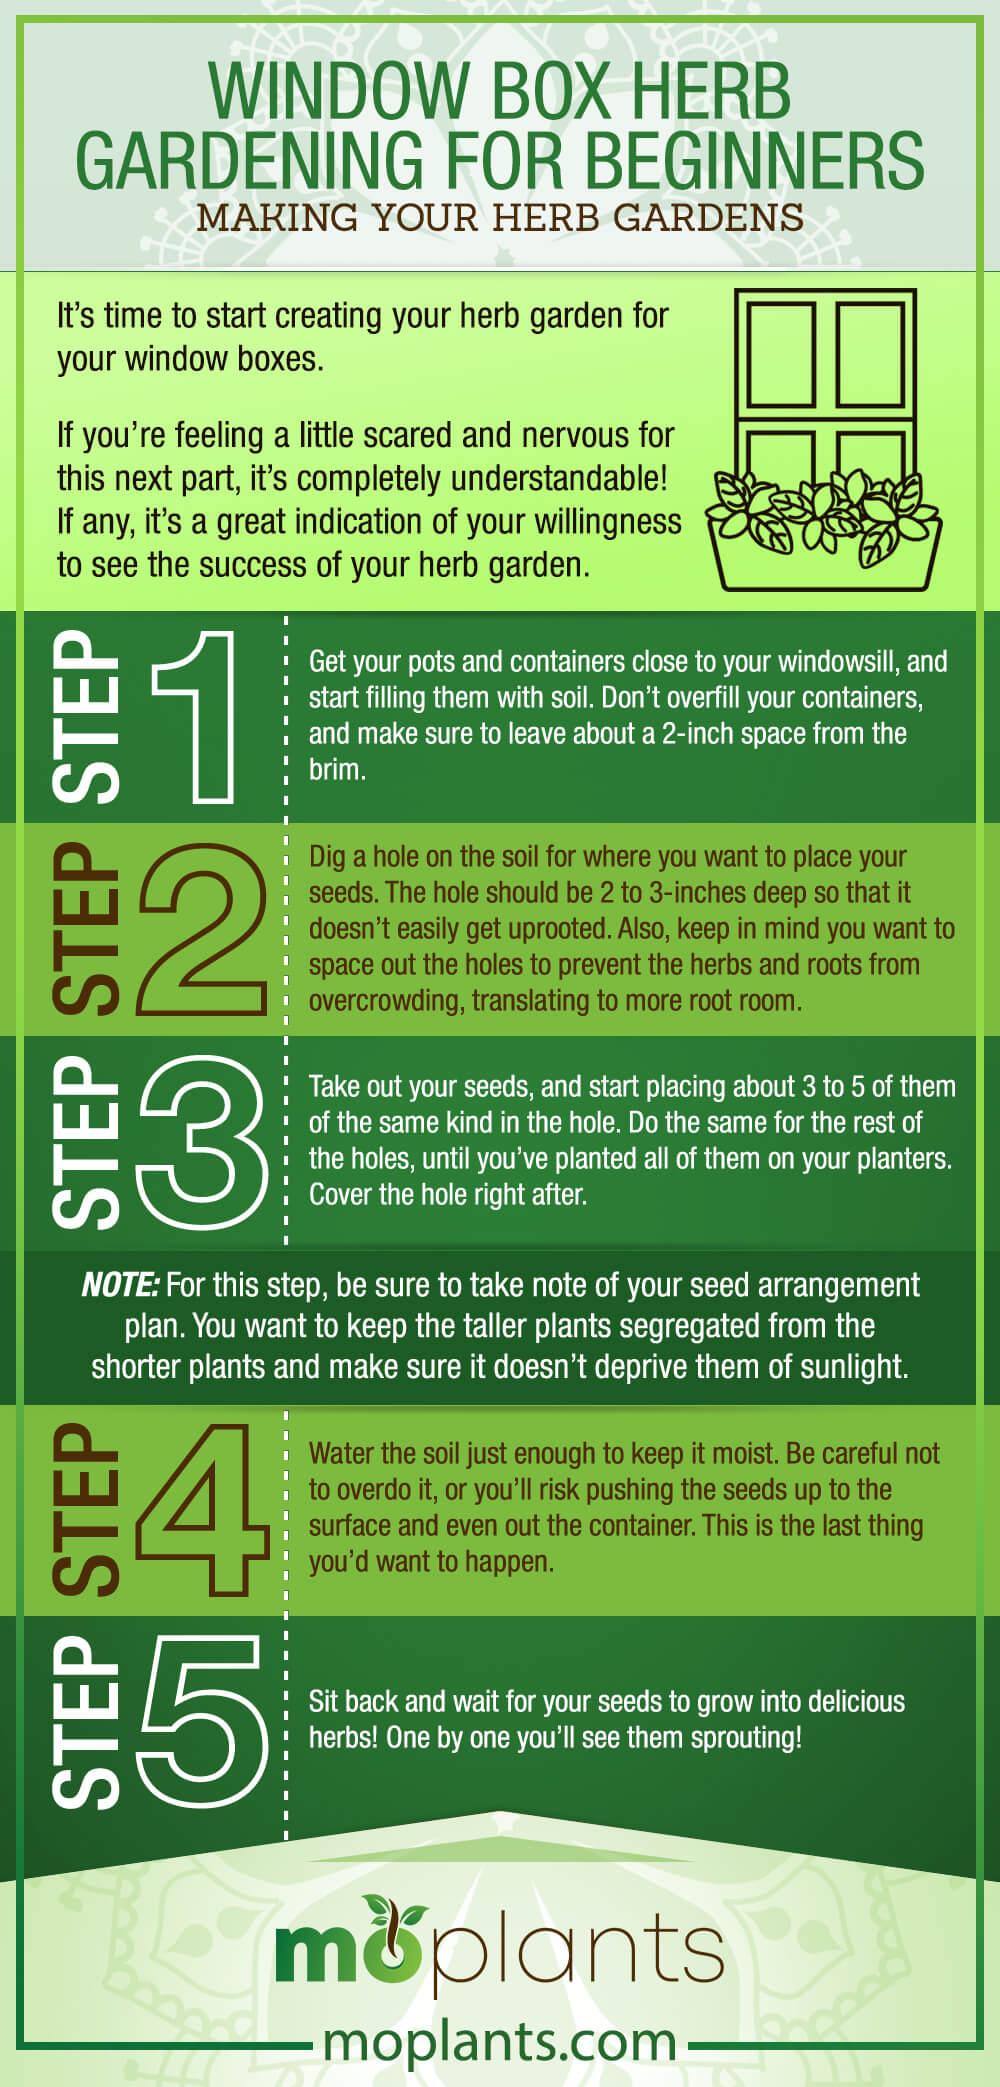
It’s time to start creating your herb garden for your window boxes.
If you’re feeling a little scared and nervous for this next part, it’s completely understandable! If any, it’s a great indication of your willingness to see the success of your herb garden.
Step 1: Get your pots and containers close to your windowsill, and start filling them with soil. Don’t overfill your containers, and make sure to leave about a 2-inch space from the brim.
Step 2: Dig a hole on the soil for where you want to place your seeds. The hole should be 2 to 3-inches deep so that it doesn’t easily get uprooted. Also, keep in mind you want to space out the holes to prevent the herbs and roots from overcrowding, translating to more root room.
Step 3: Take out your seeds, and start placing about 3 to 5 of them of the same kind in the hole. Do the same for the rest of the holes, until you’ve planted all of them on your planters. Cover the hole right after.
NOTE: For this step, be sure to take note of your seed arrangement plan. You want to keep the taller plants segregated from the shorter plants and make sure it doesn’t deprive them of sunlight.
Step 4: Water the soil just enough to keep it moist. Be careful not to overdo it, or you’ll risk pushing the seeds up to the surface and even out the container. This is the last thing you’d want to happen.
Step 5: Sit back and wait for your seeds to grow into delicious herbs! One by one you’ll see them sprouting!
Tips and Reminders
Growing your herbs doesn’t stop with the planting process because it’s an everyday commitment you need to prepare for.
For your herbs to grow, here are some important tips and reminders for you to live by.
Plant Location
You have to pay close attention to which windowsill your should place your plants on. Where they are now might not be the best place for them 5 to 6 months from now.
In general, gardeners recommend that you place your planters on south-facing beds. It should receive enough sun exposure, without experiencing too much heat from the full sun.
You also want to make sure that your plants get an equal amount of sun exposure, by flipping the container once in a while.
Water Requirements
Right after planting your herbs, you must pay close attention to the soil. We can’t emphasize enough how crucial this part will be for the following weeks.
As much as possible, keep the soil moist at all times. One way to prevent overwatering is by misting them. Whenever you see the soil starting to crack or look dry, start misting it.
Like what we’ve mentioned above, make sure that you choose a container that has drainage holes for the excess water to come out.
Harvest Time
Once your herbs have fully grown, it’s time to start with the harvesting process.
As much as you’d like to keep your pots and windowsill look full with the lush plantings, at some point you’ll need to harvest them and make yourself a delicious spring salad.
Harvesting is an important aspect of growing herbs because it encourages the health of your plant. Now, do note that each herb plant has its harvesting schedule you need to be mindful of.
Infographic
Conclusion
There you have it, folks! Simple and easy tips and steps to create your very own window box herb garden!
All you have to do is sit back and wait for the delicious kitchen herbs to grow. They sure make a great touch to your yummy foods.
You won’t be needing to buy your herbs anymore! All you have to do is pick them straight from your window box herb garden, and you’re all set! Who wouldn’t want to have basil, parsley, and many more herbs growing straight from their windowsill?
If you enjoyed this article, don’t forget to give it a like. Feel free to leave any questions you have down in the comments section. We’d love to answer them!
And if you found this article helpful, do share it with your friends and family. Who knows? They might find our tips helpful, and you might just inspire them to be a gardener and make their very own herb garden window boxes.